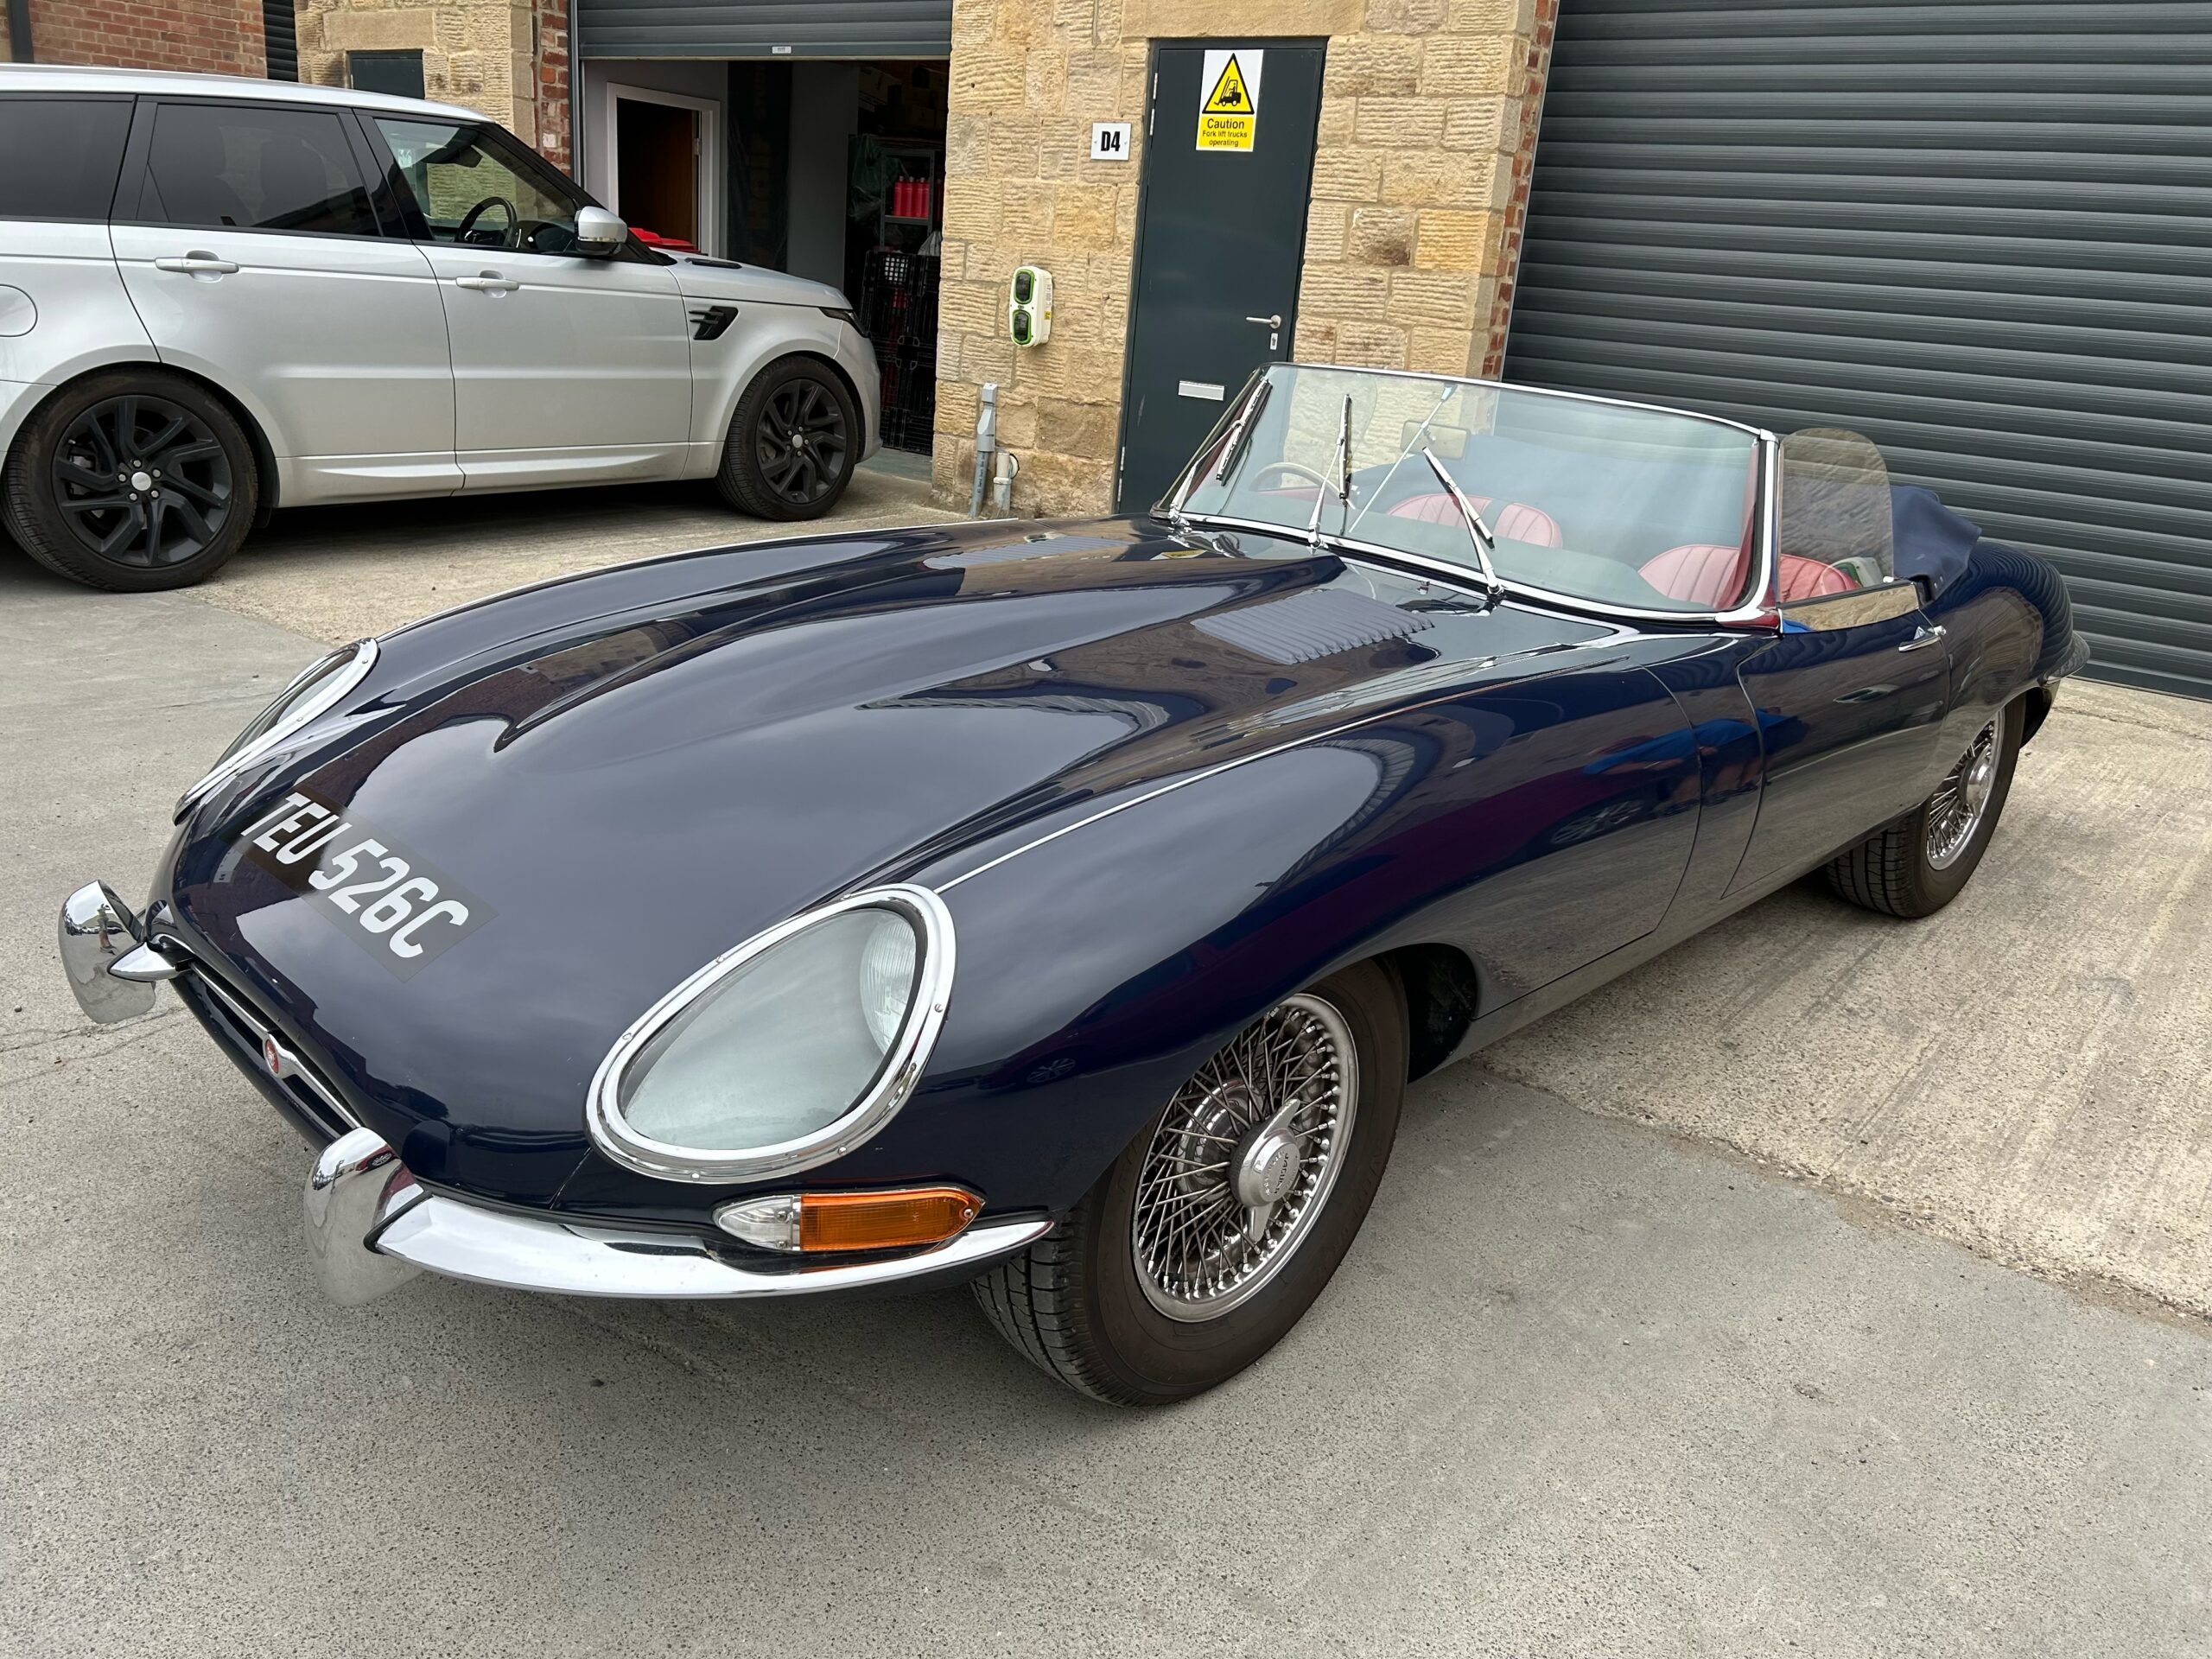
Jaguar Series 2 paint and Bodywork Restoration

Project Information
Project Description:
**Jaguar E-Type Series Two Paint Restoration**
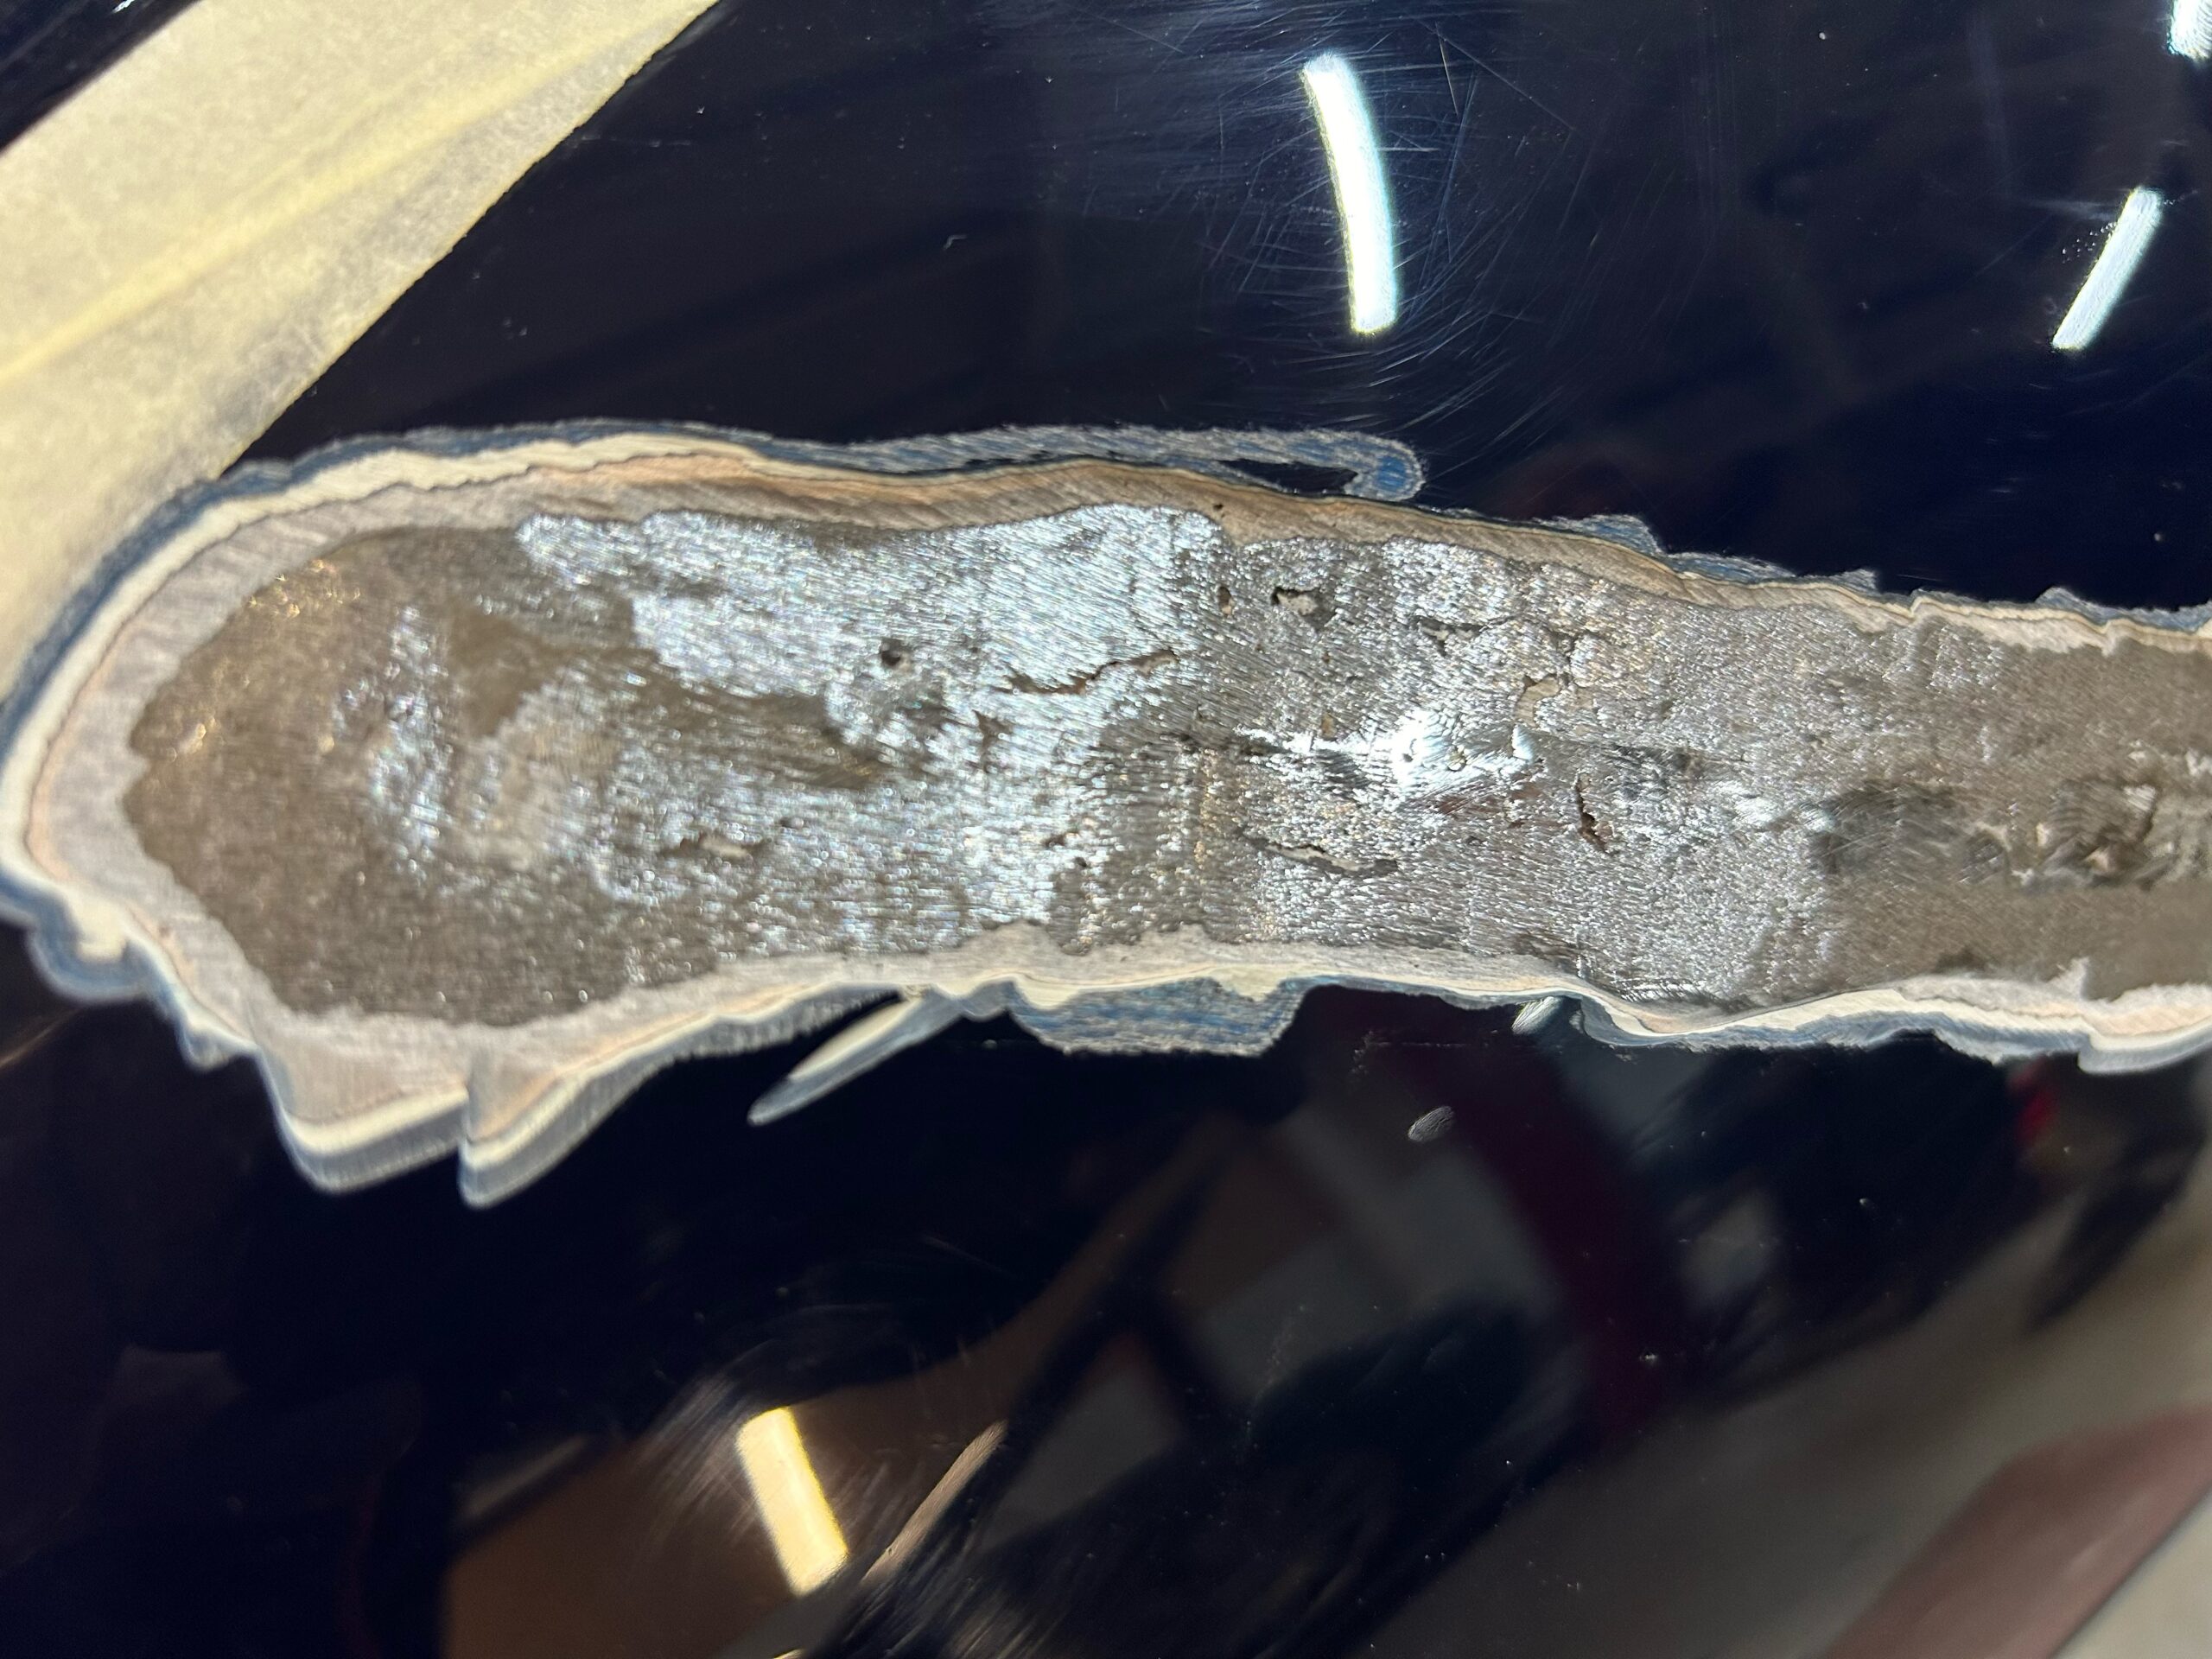
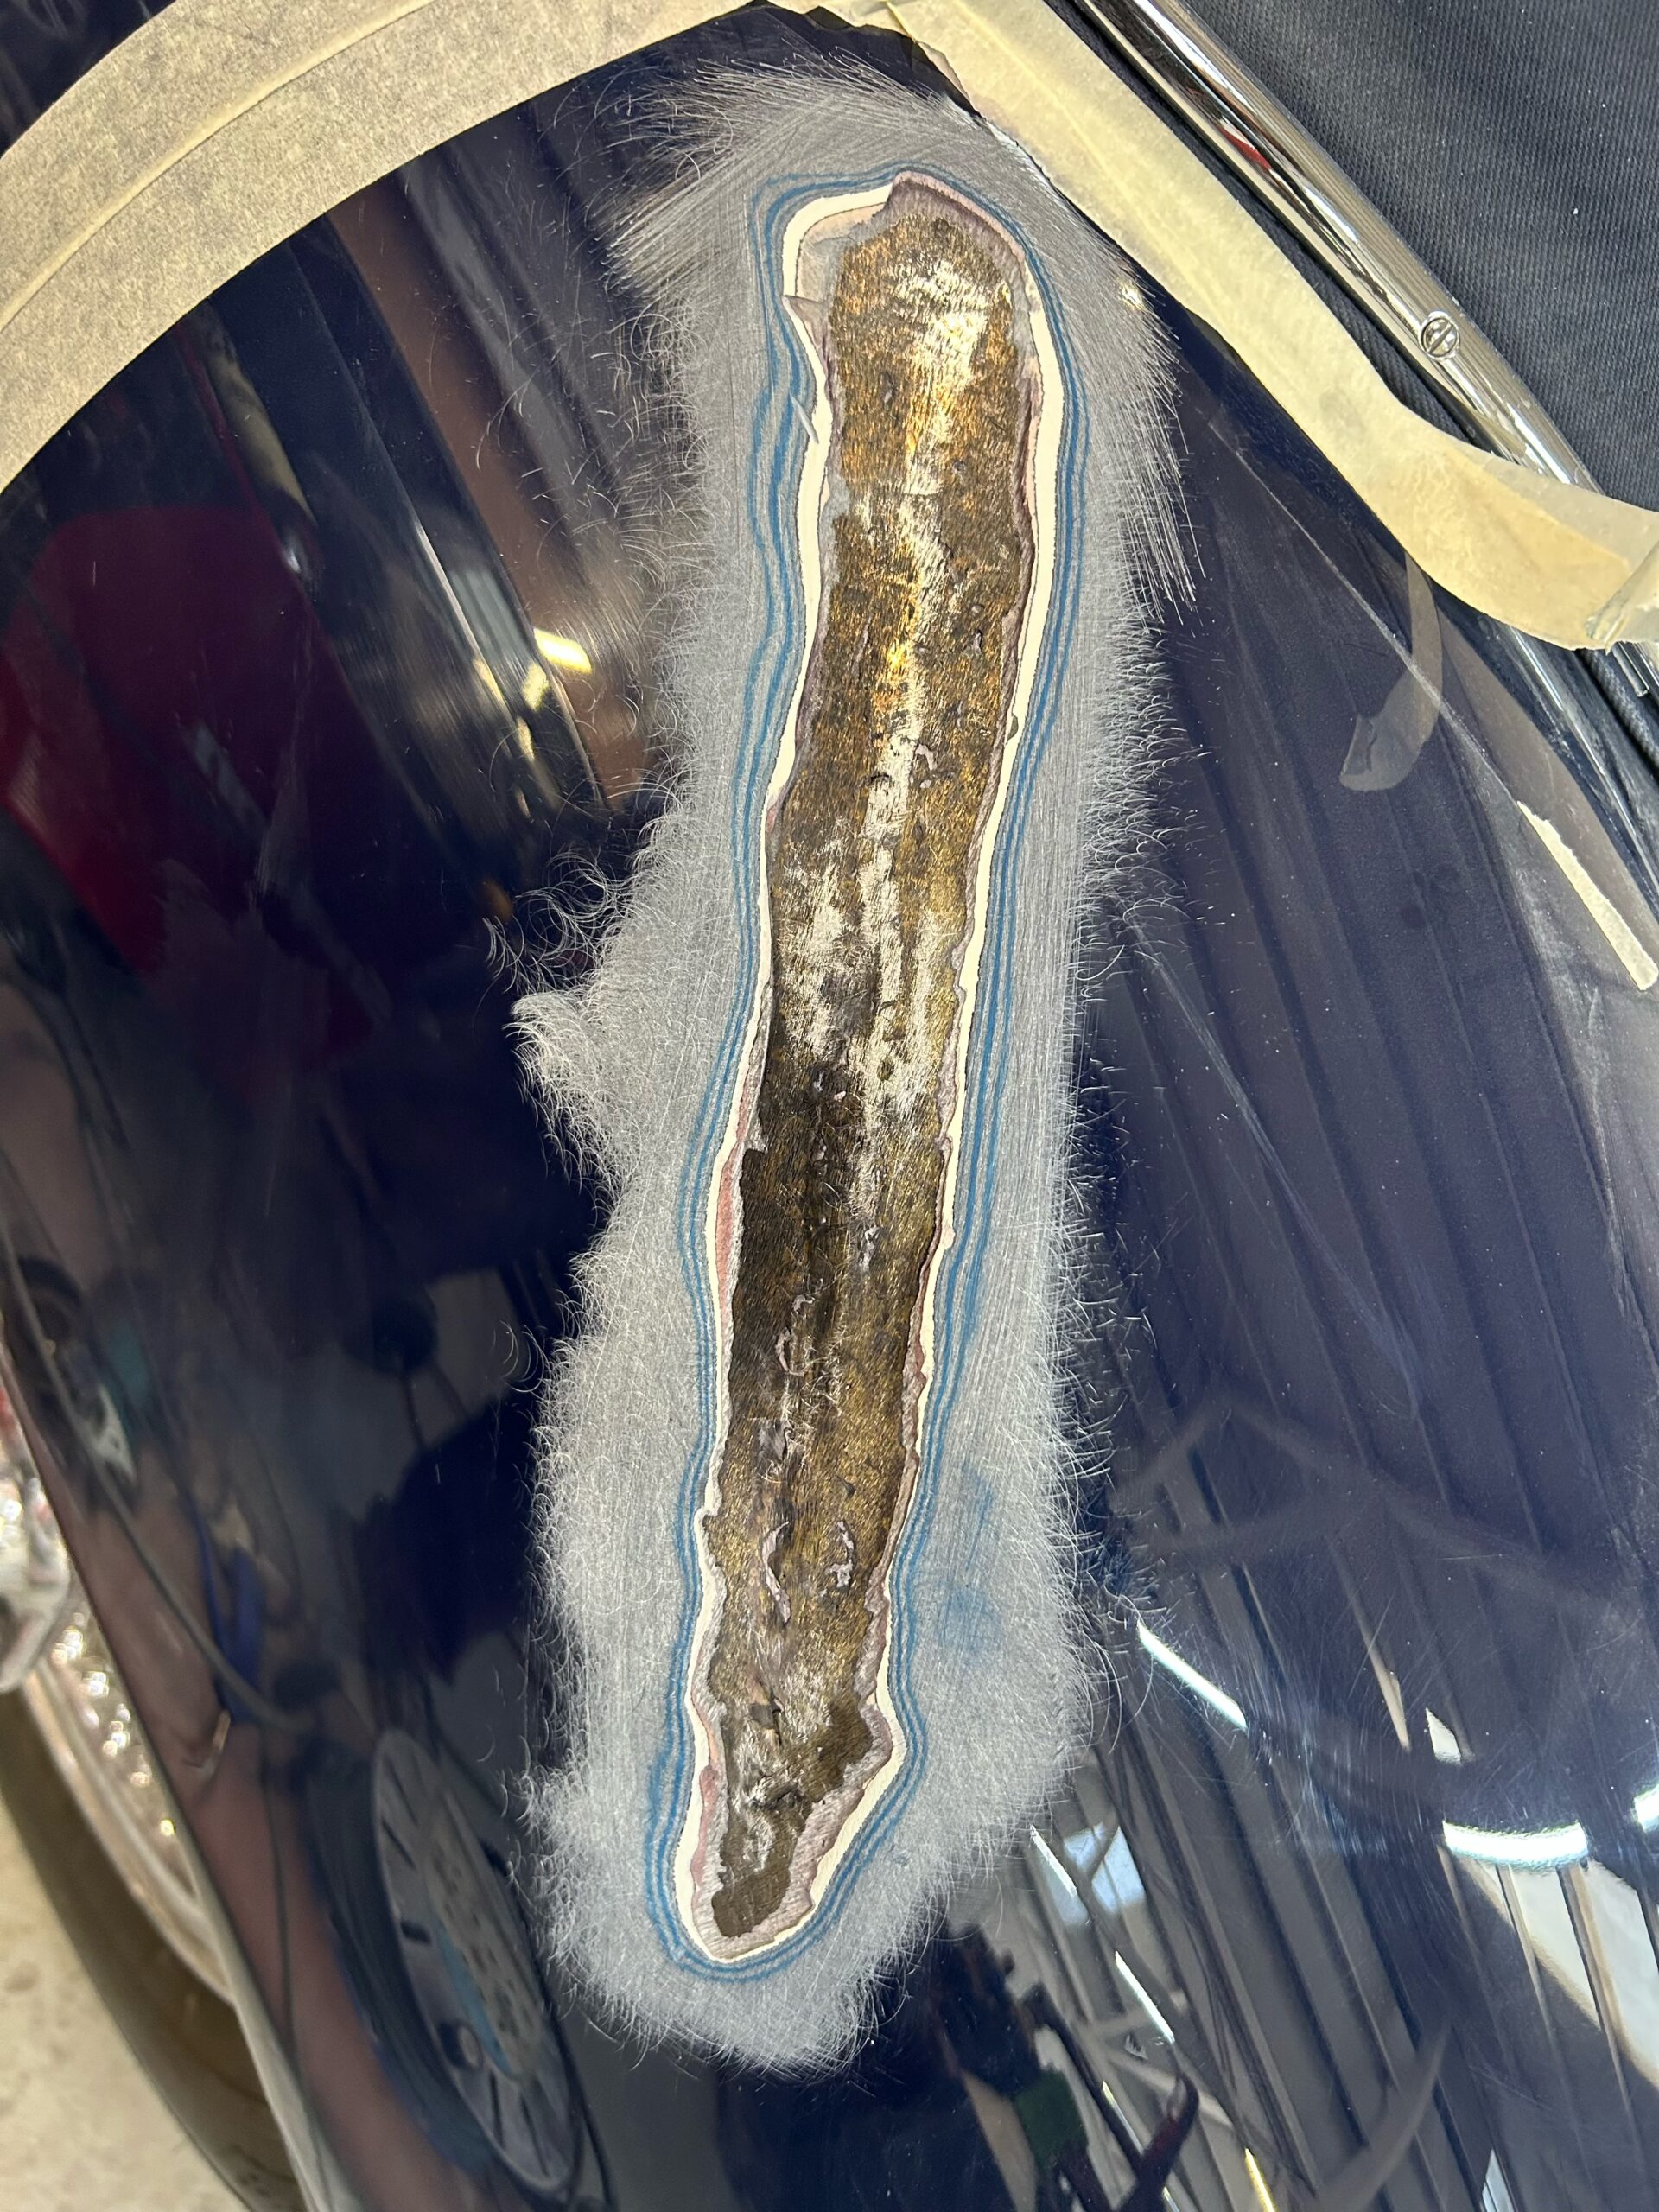
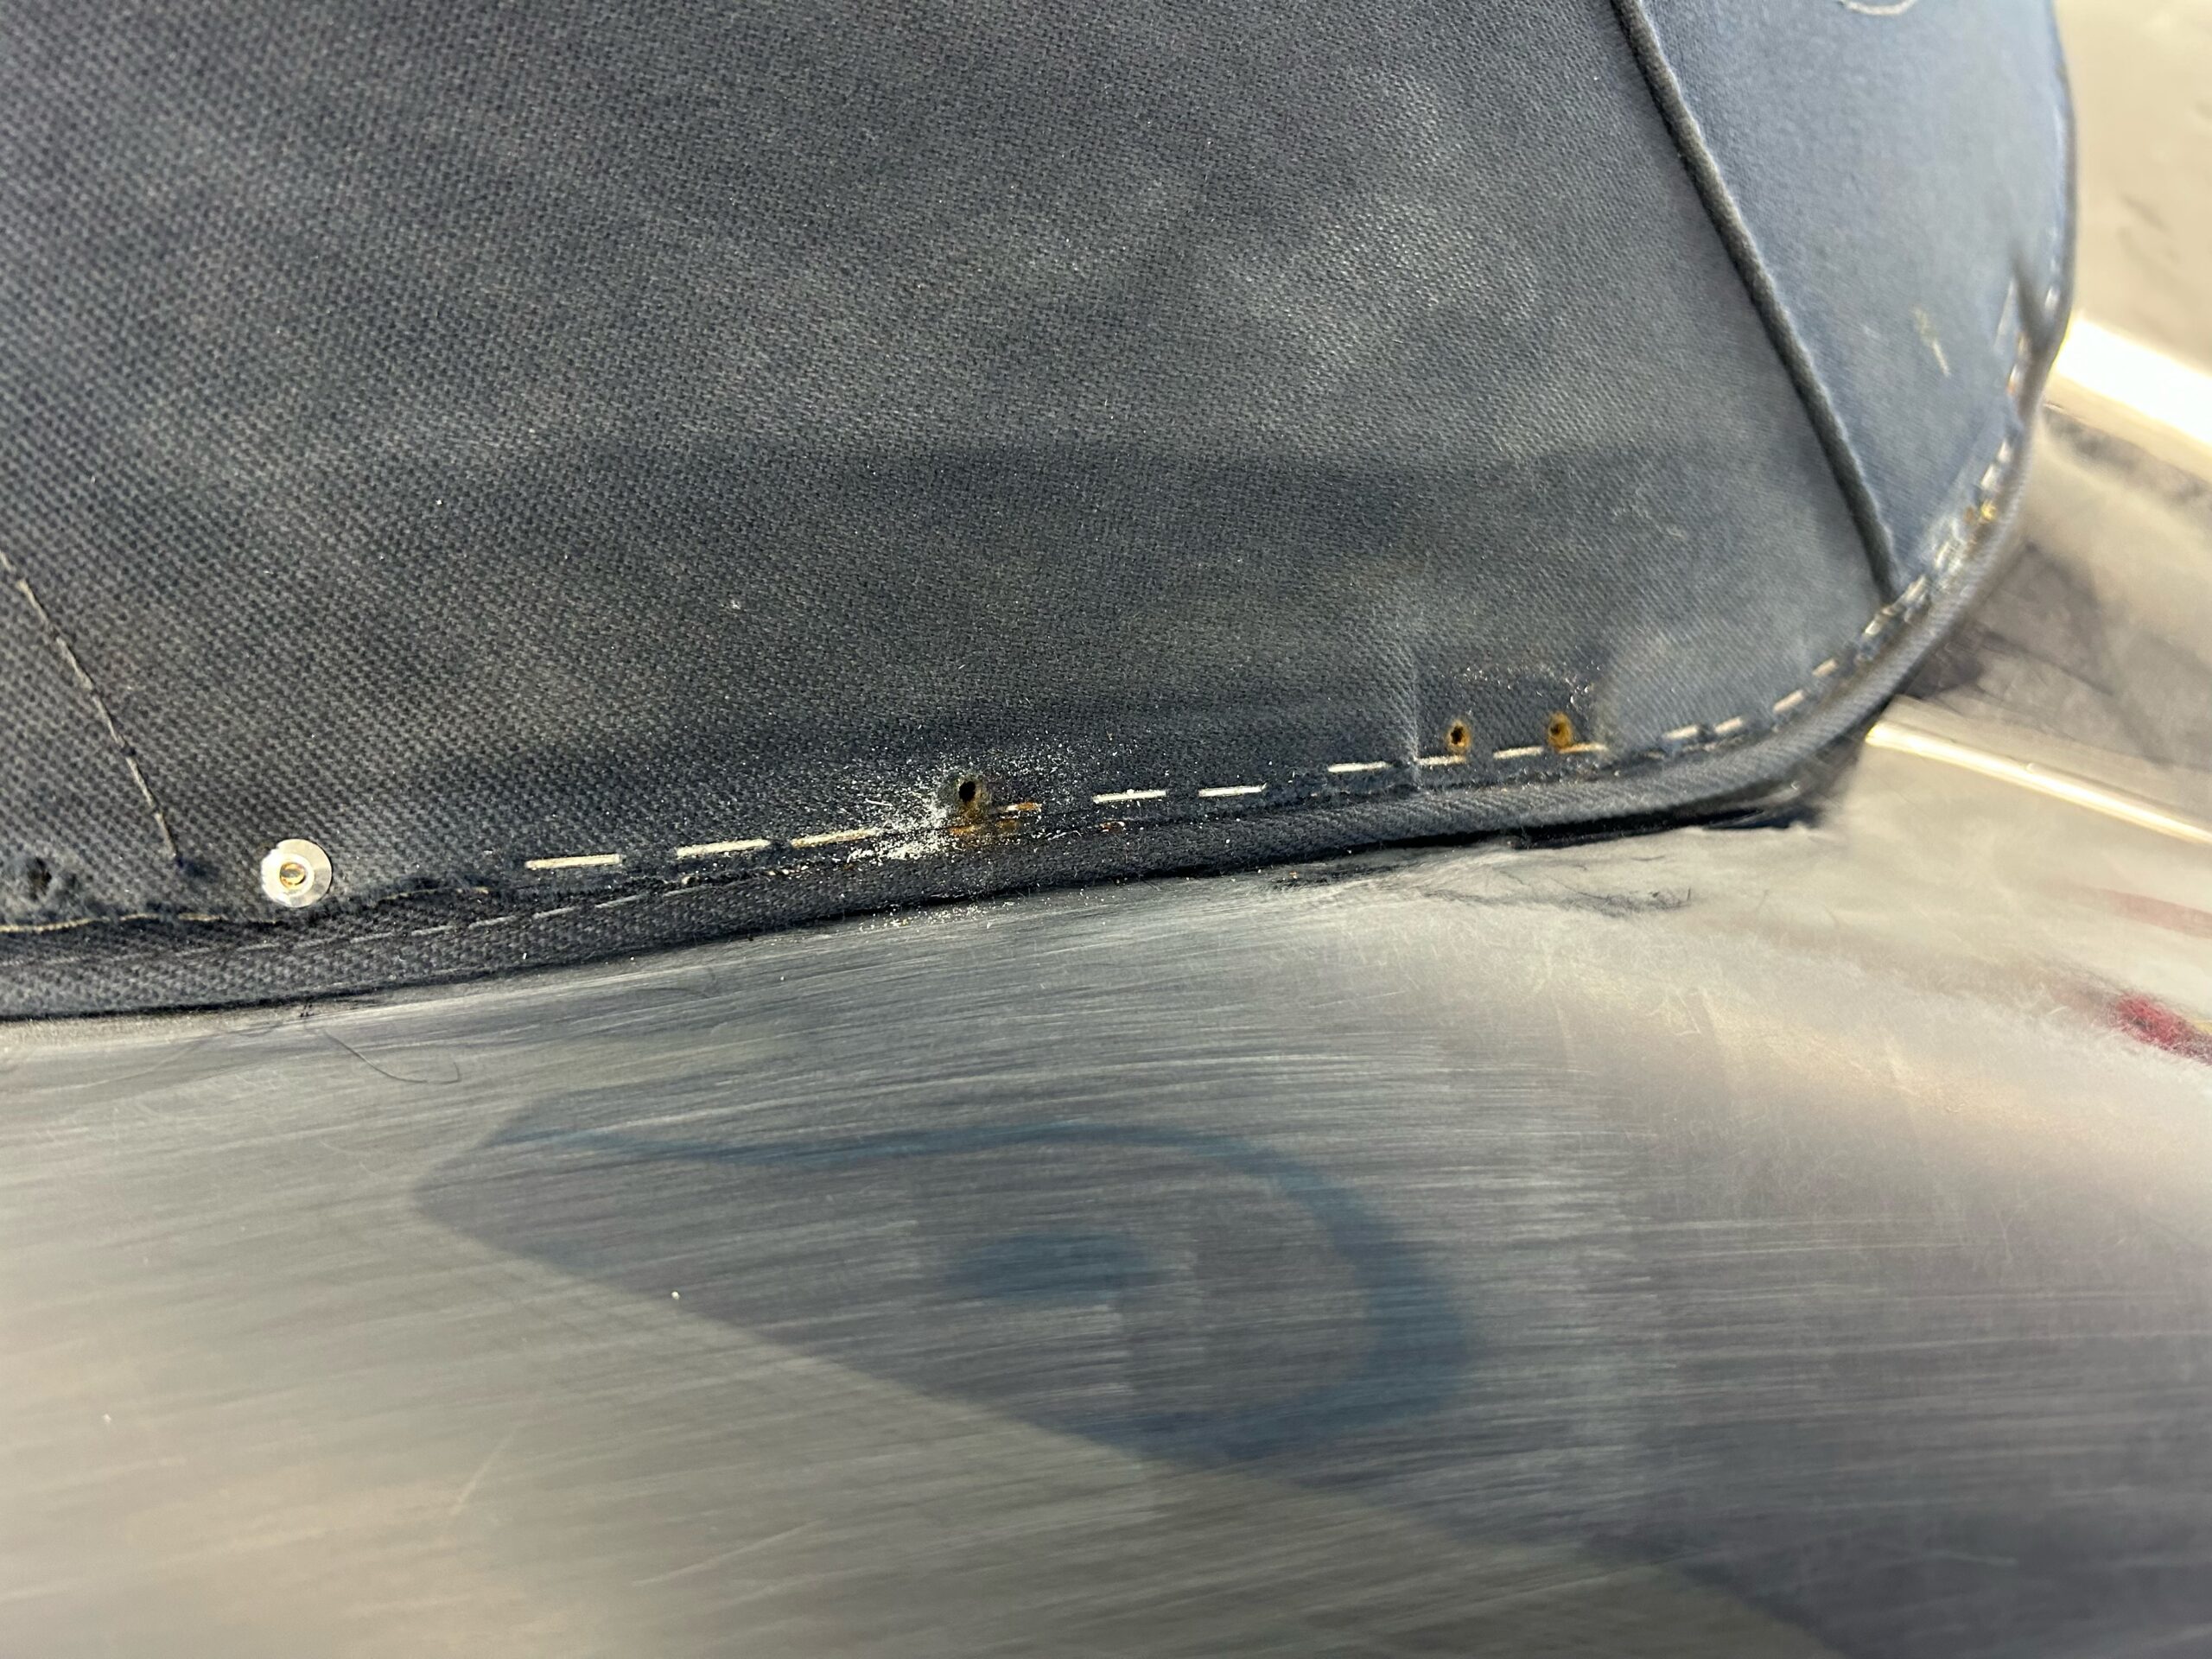
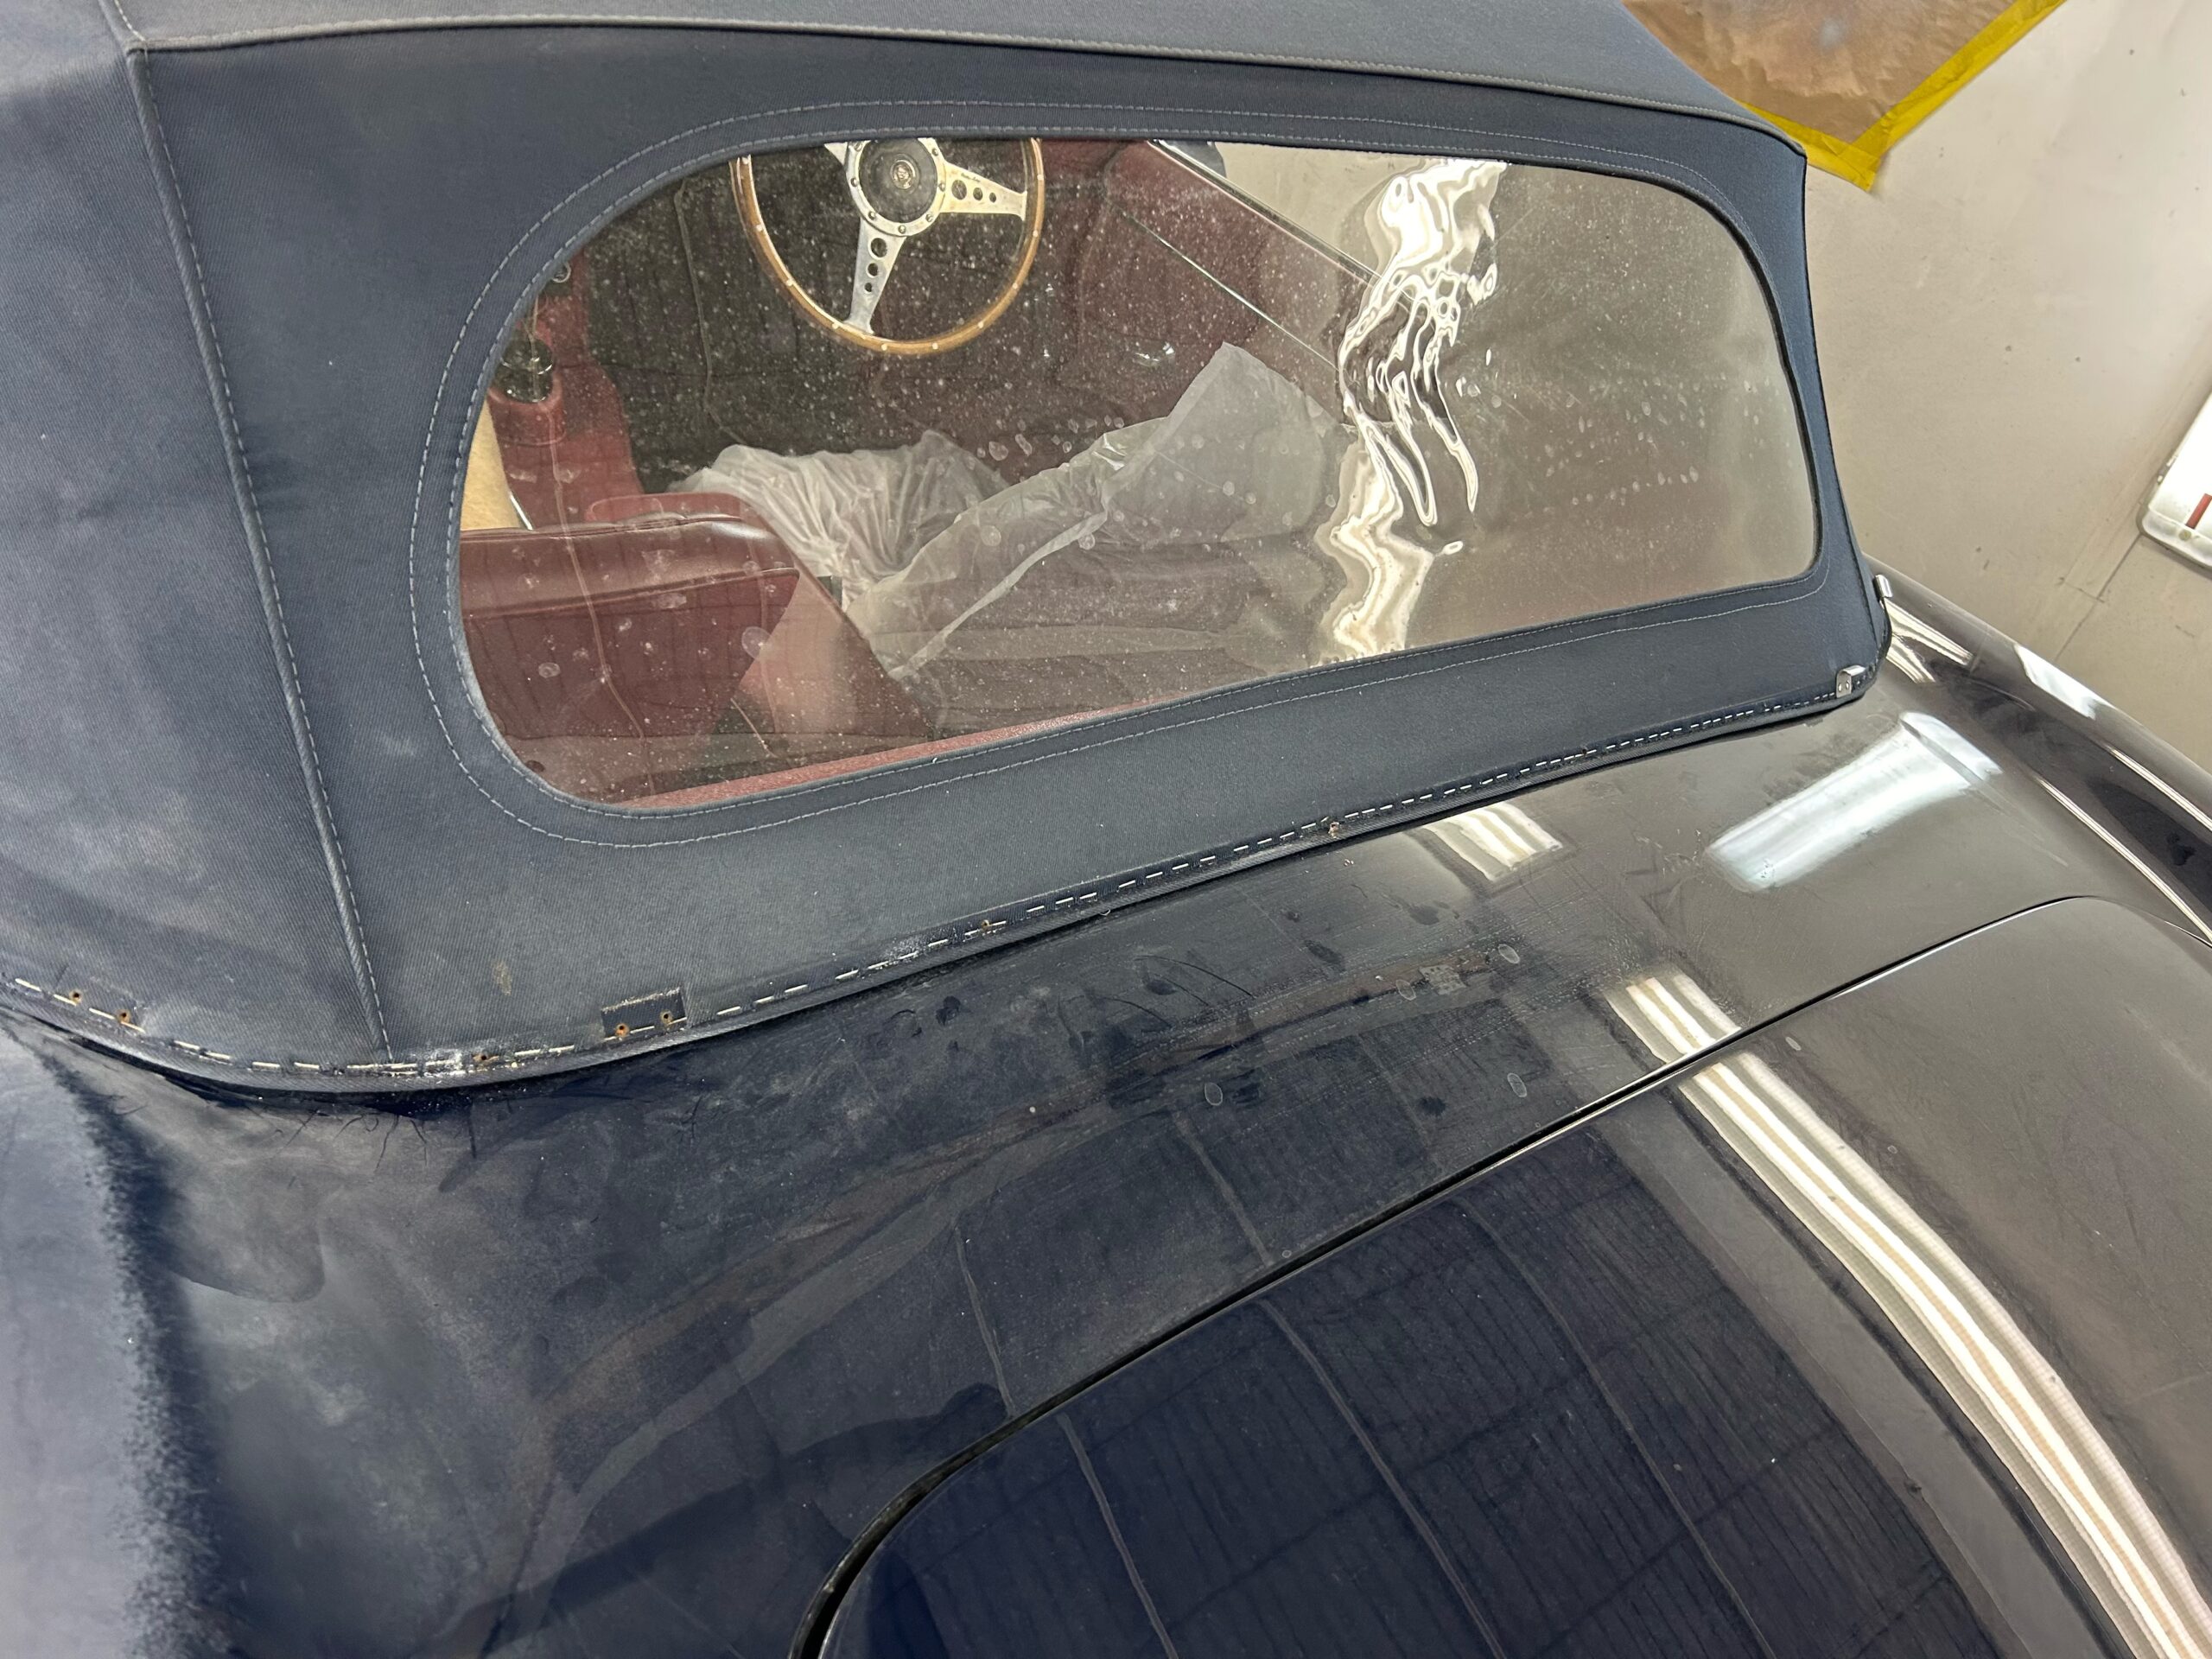
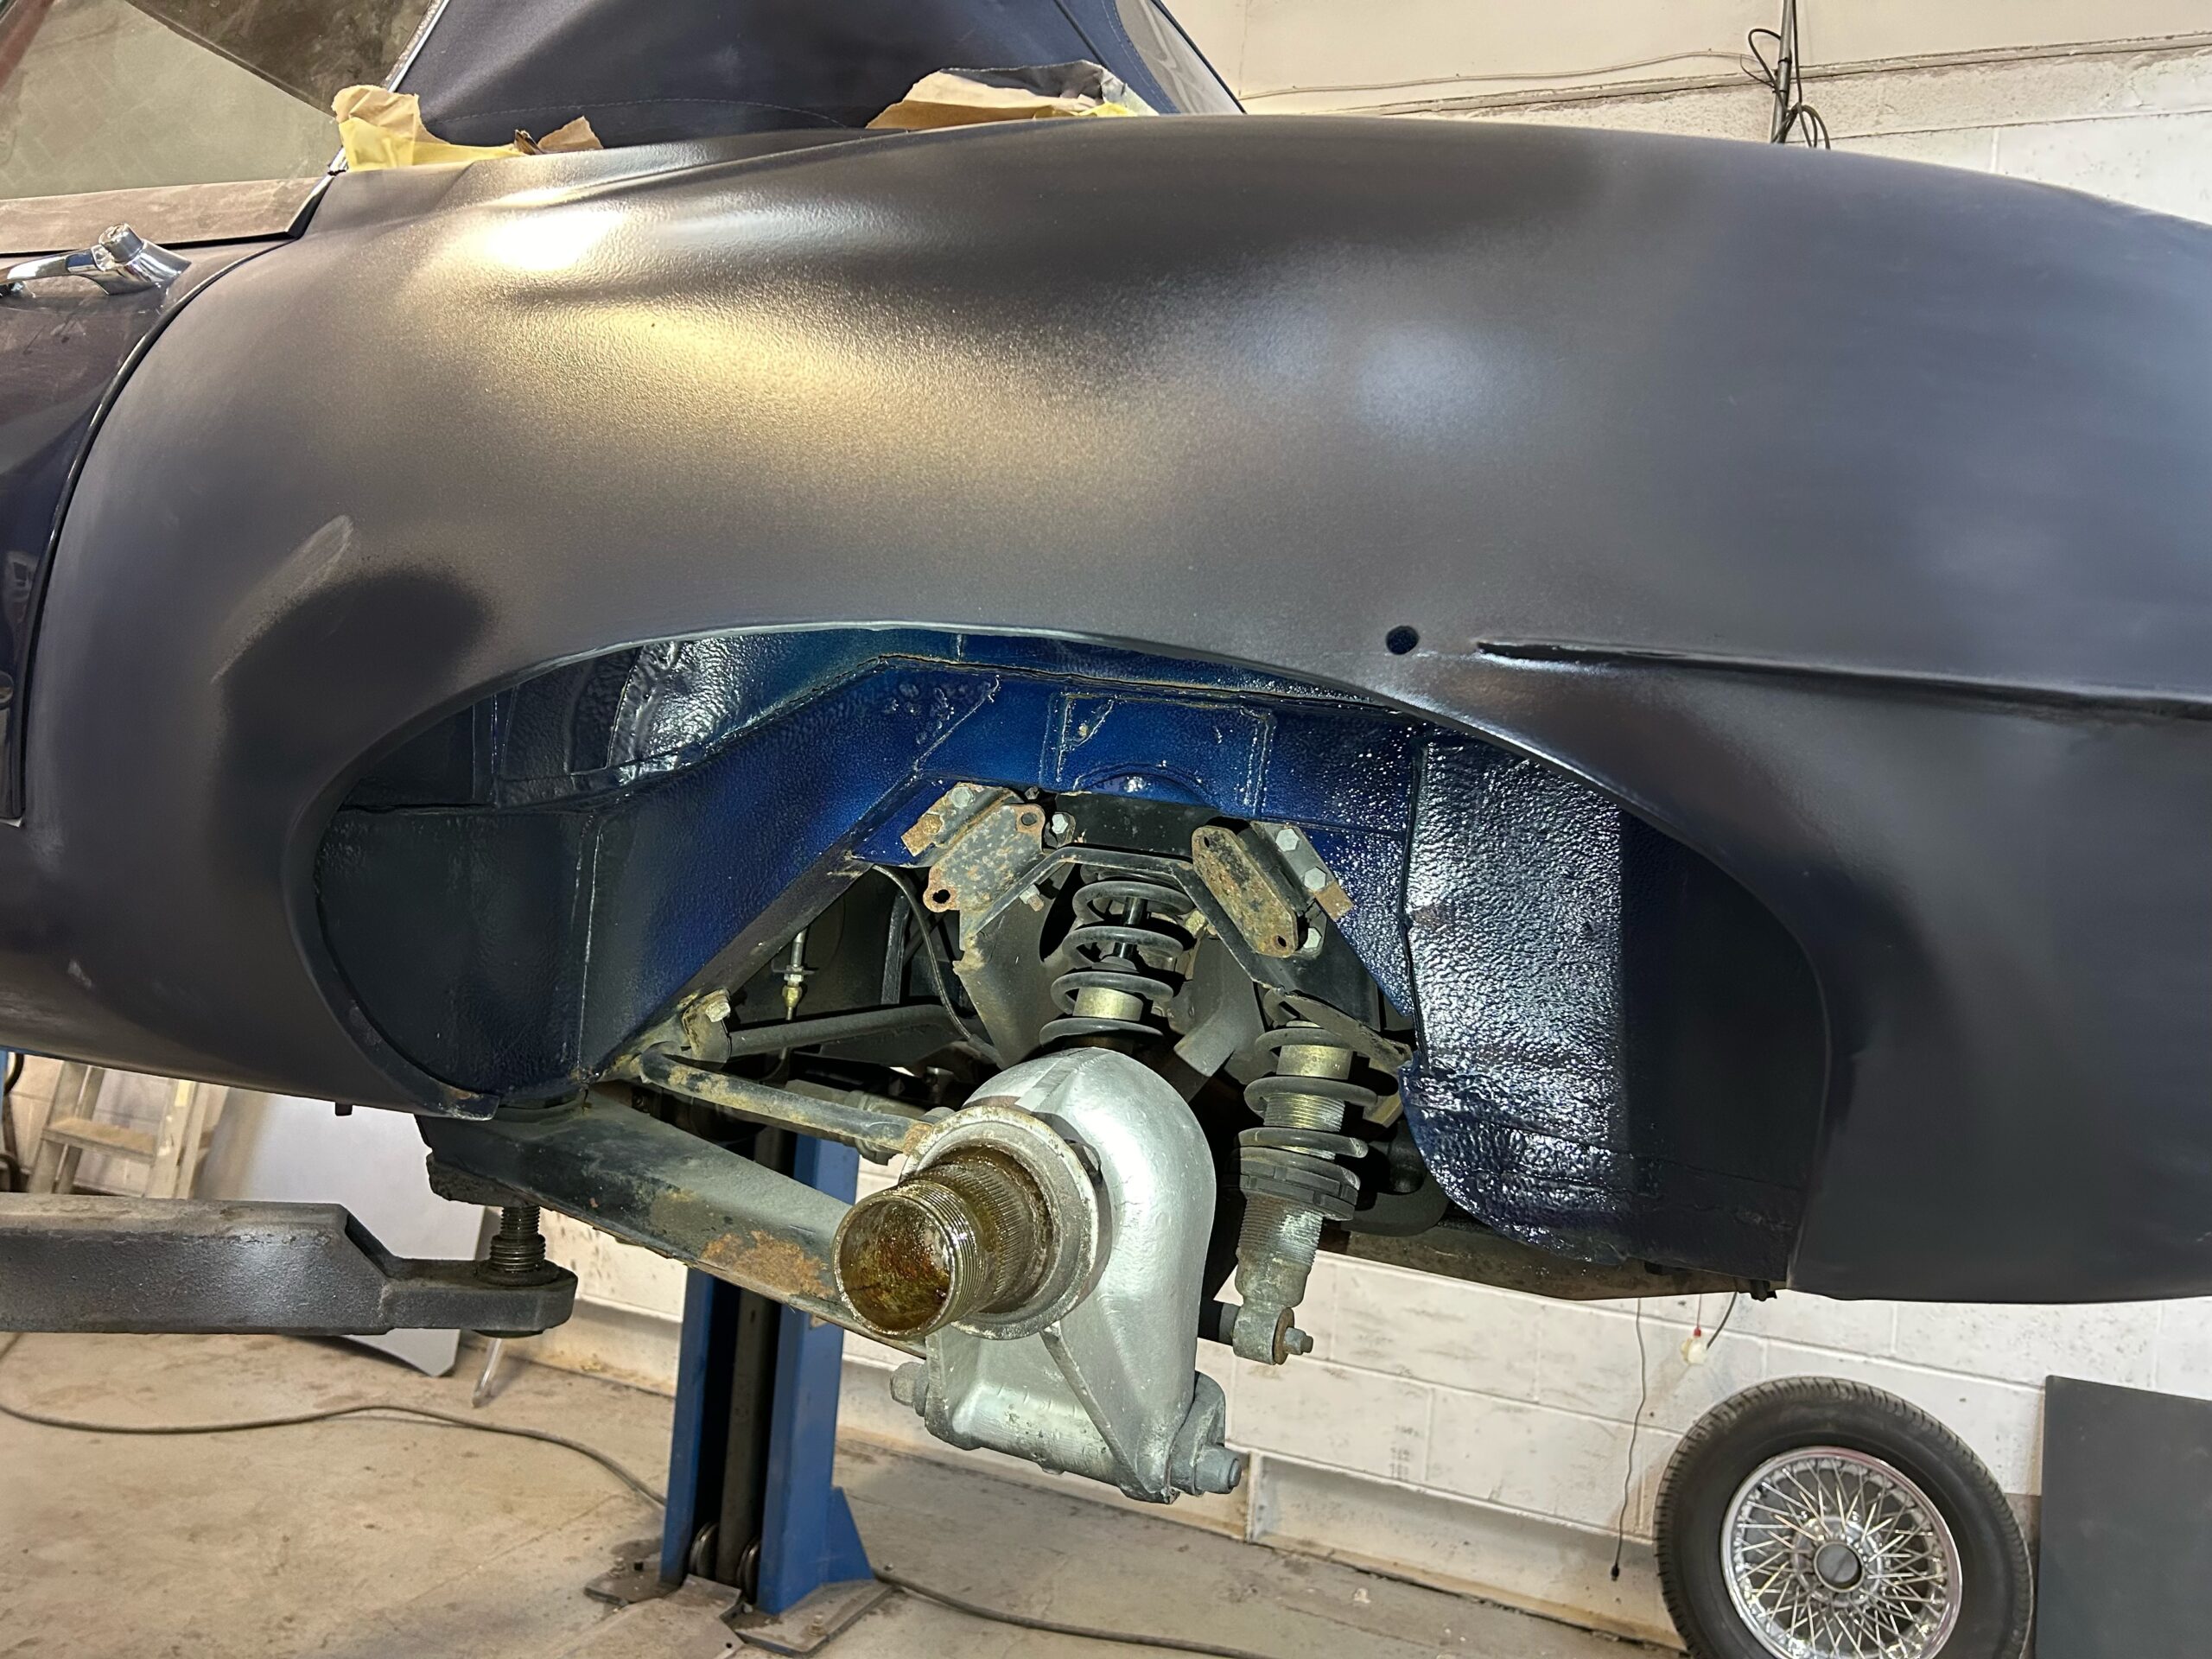
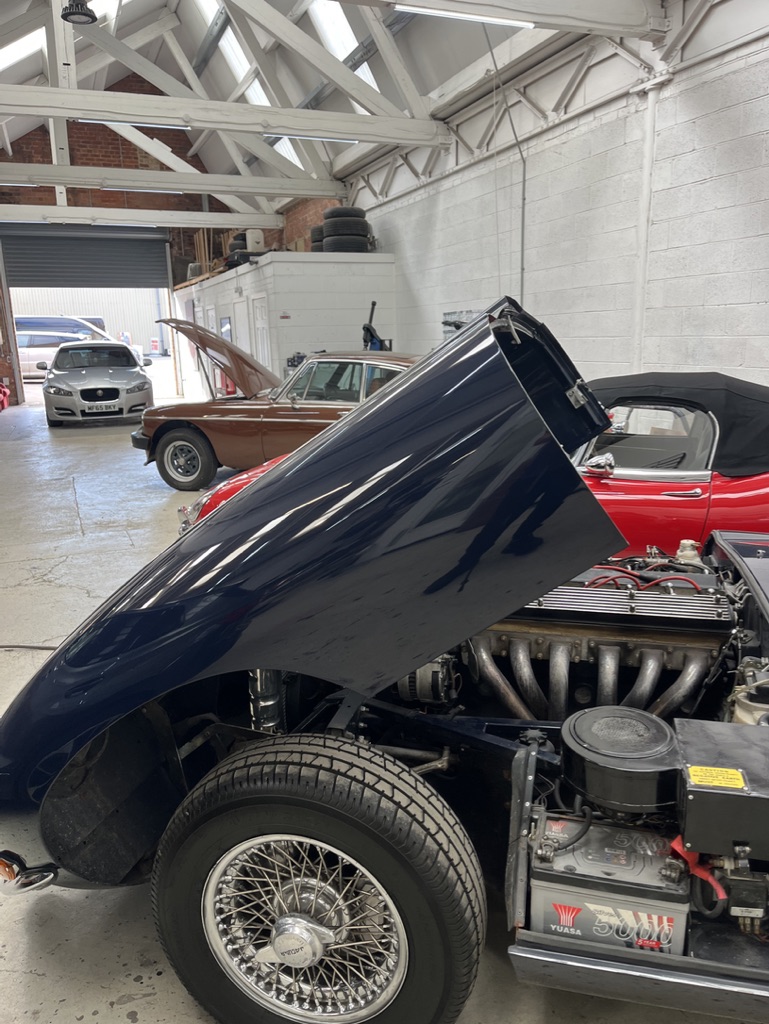
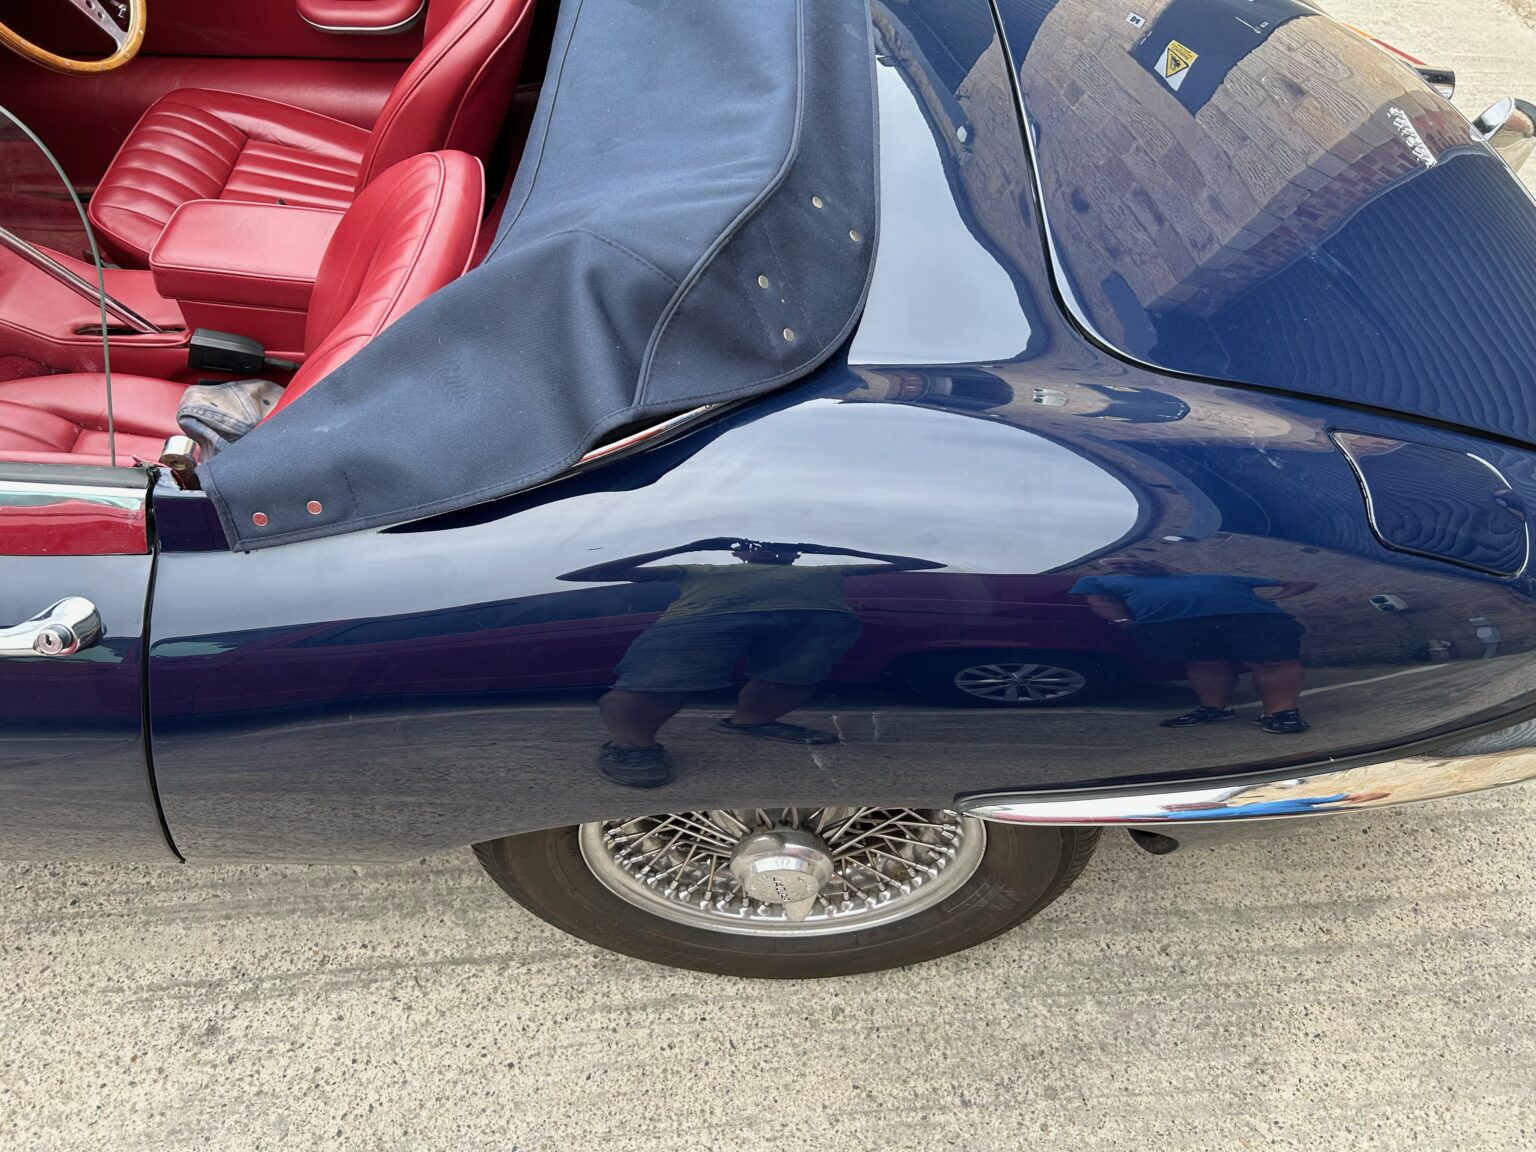
This stunning Jaguar came to us in need of repair work and general maintenance. The primary repair involved a rear-end respray, addressing a common issue we frequently encounter: paintwork blistering.
Blistering occurs when water gets trapped beneath the paint. Over time, this trapped moisture rises to the surface, causing the paint to bubble. It’s a well-known adage that when buying a classic or retro car, you should carefully inspect the bodywork, as it typically represents the largest expense in restoring such vehicles.
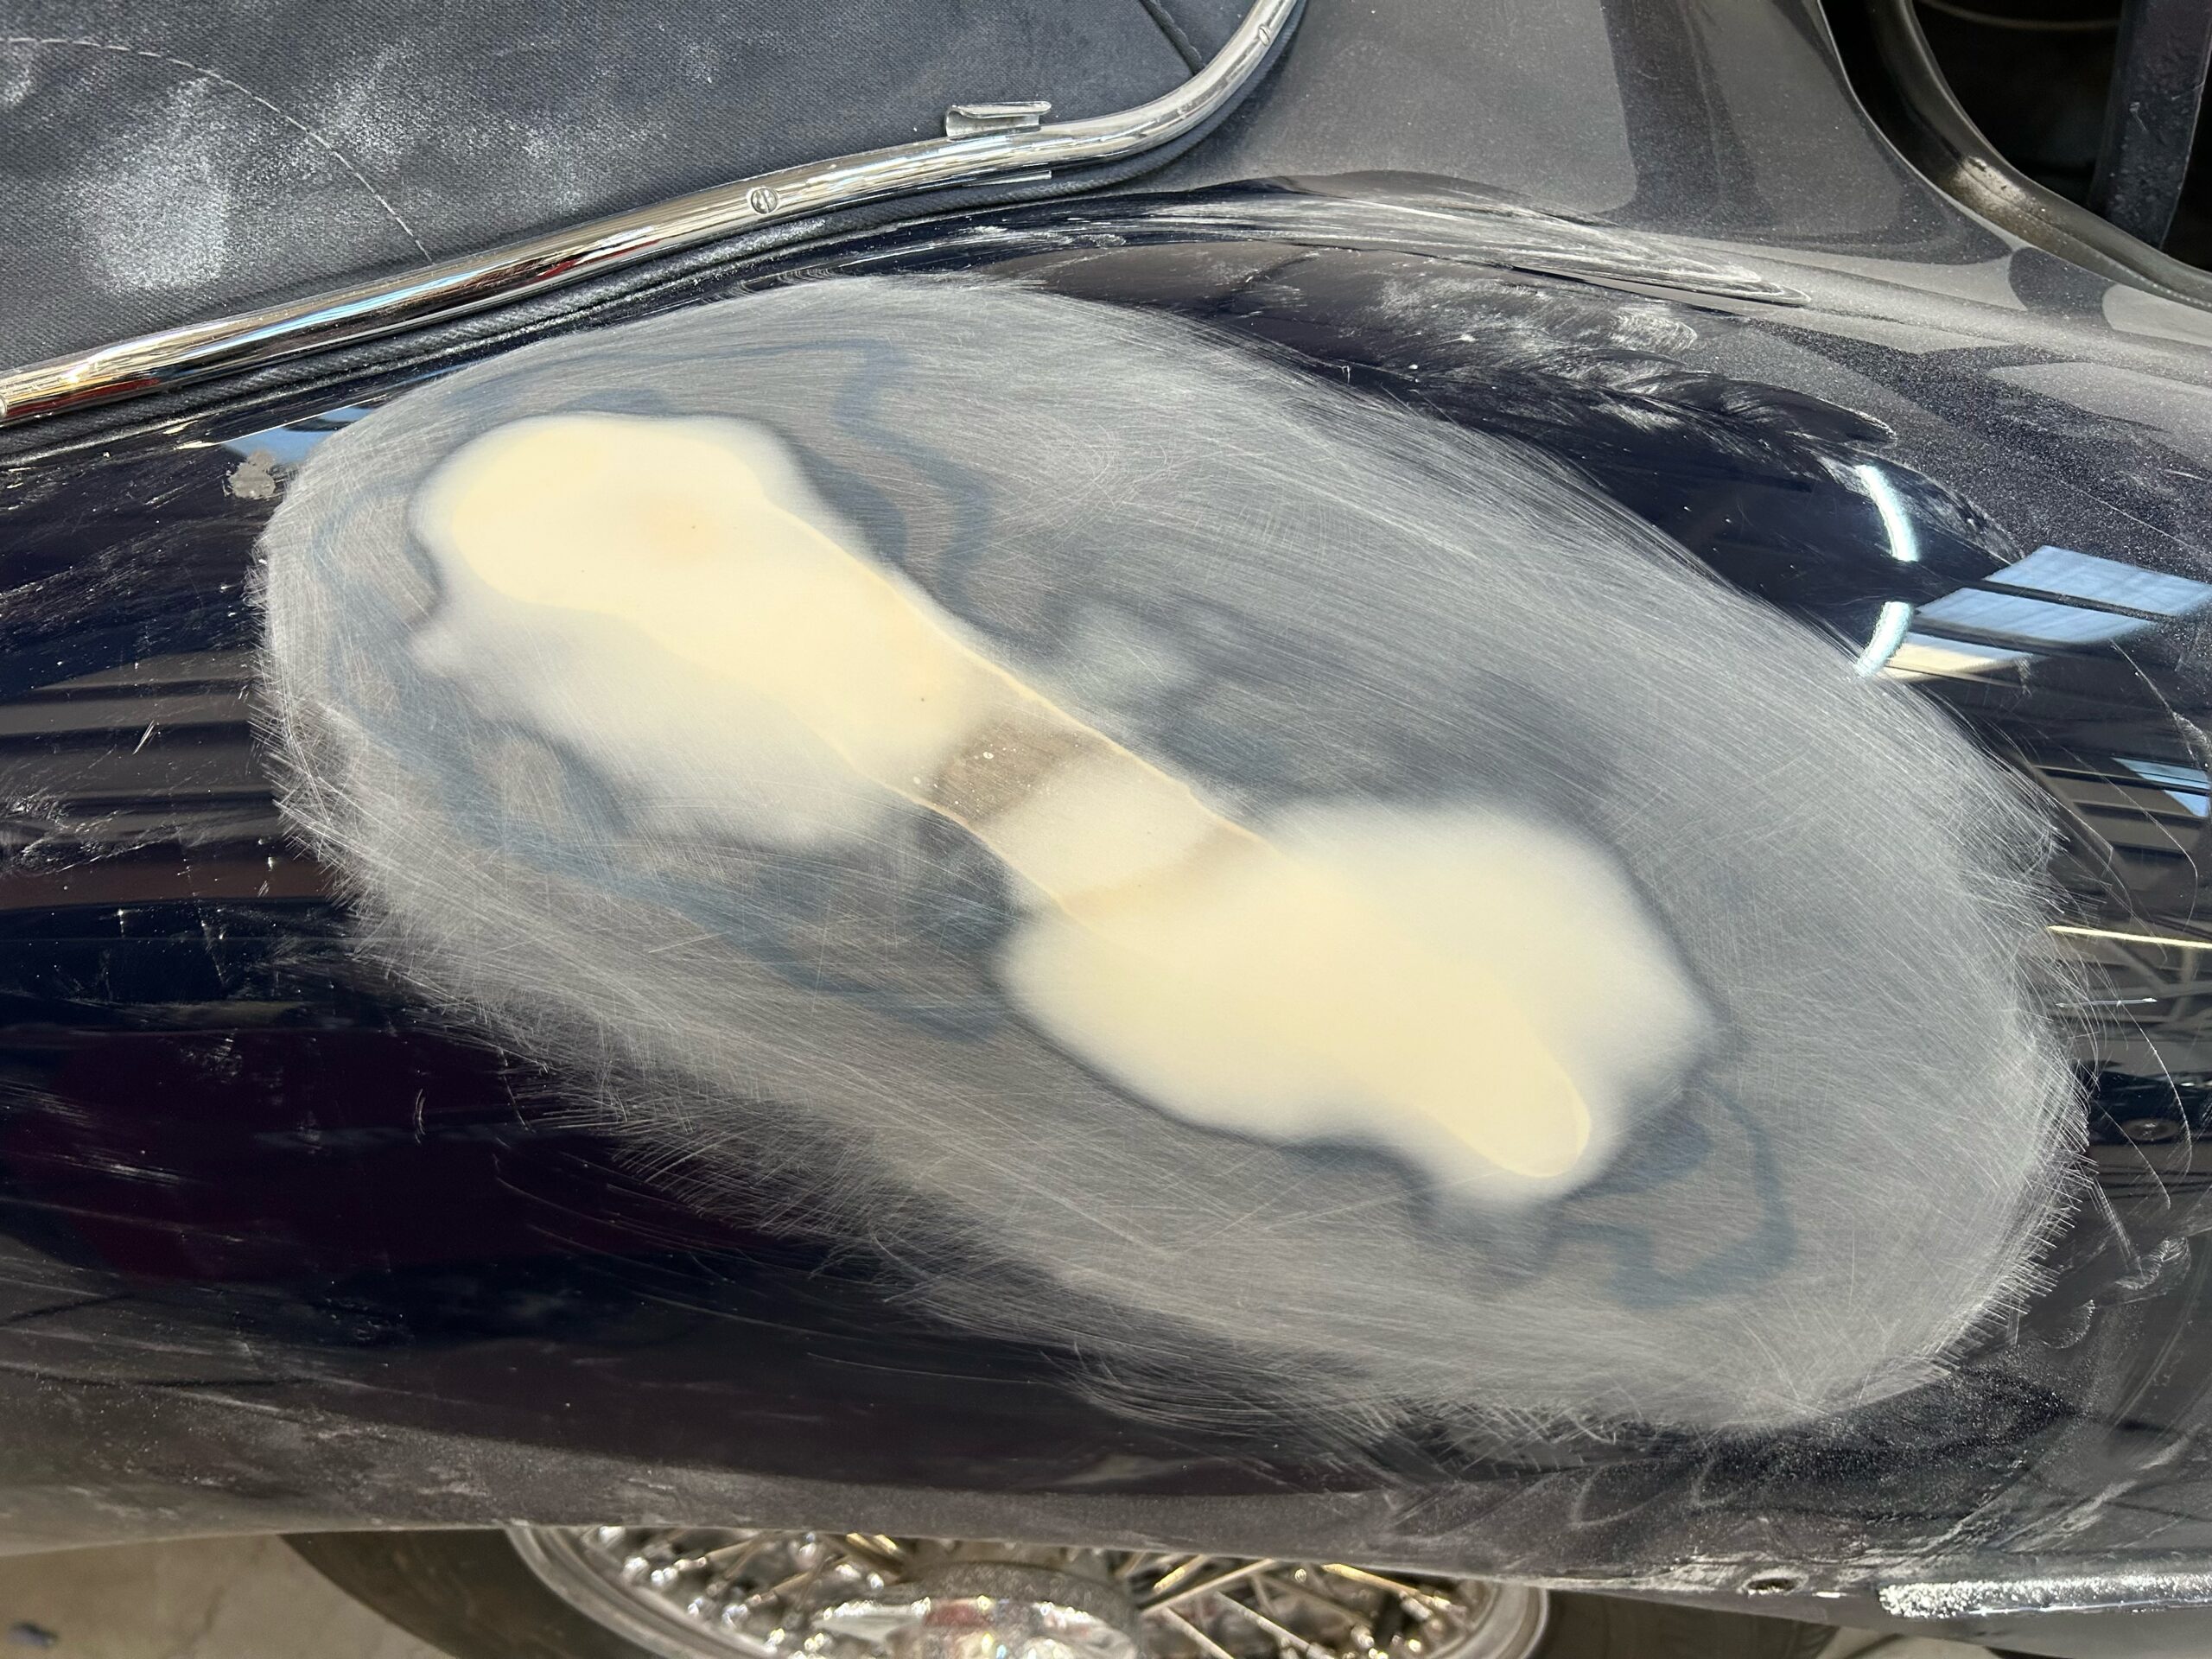
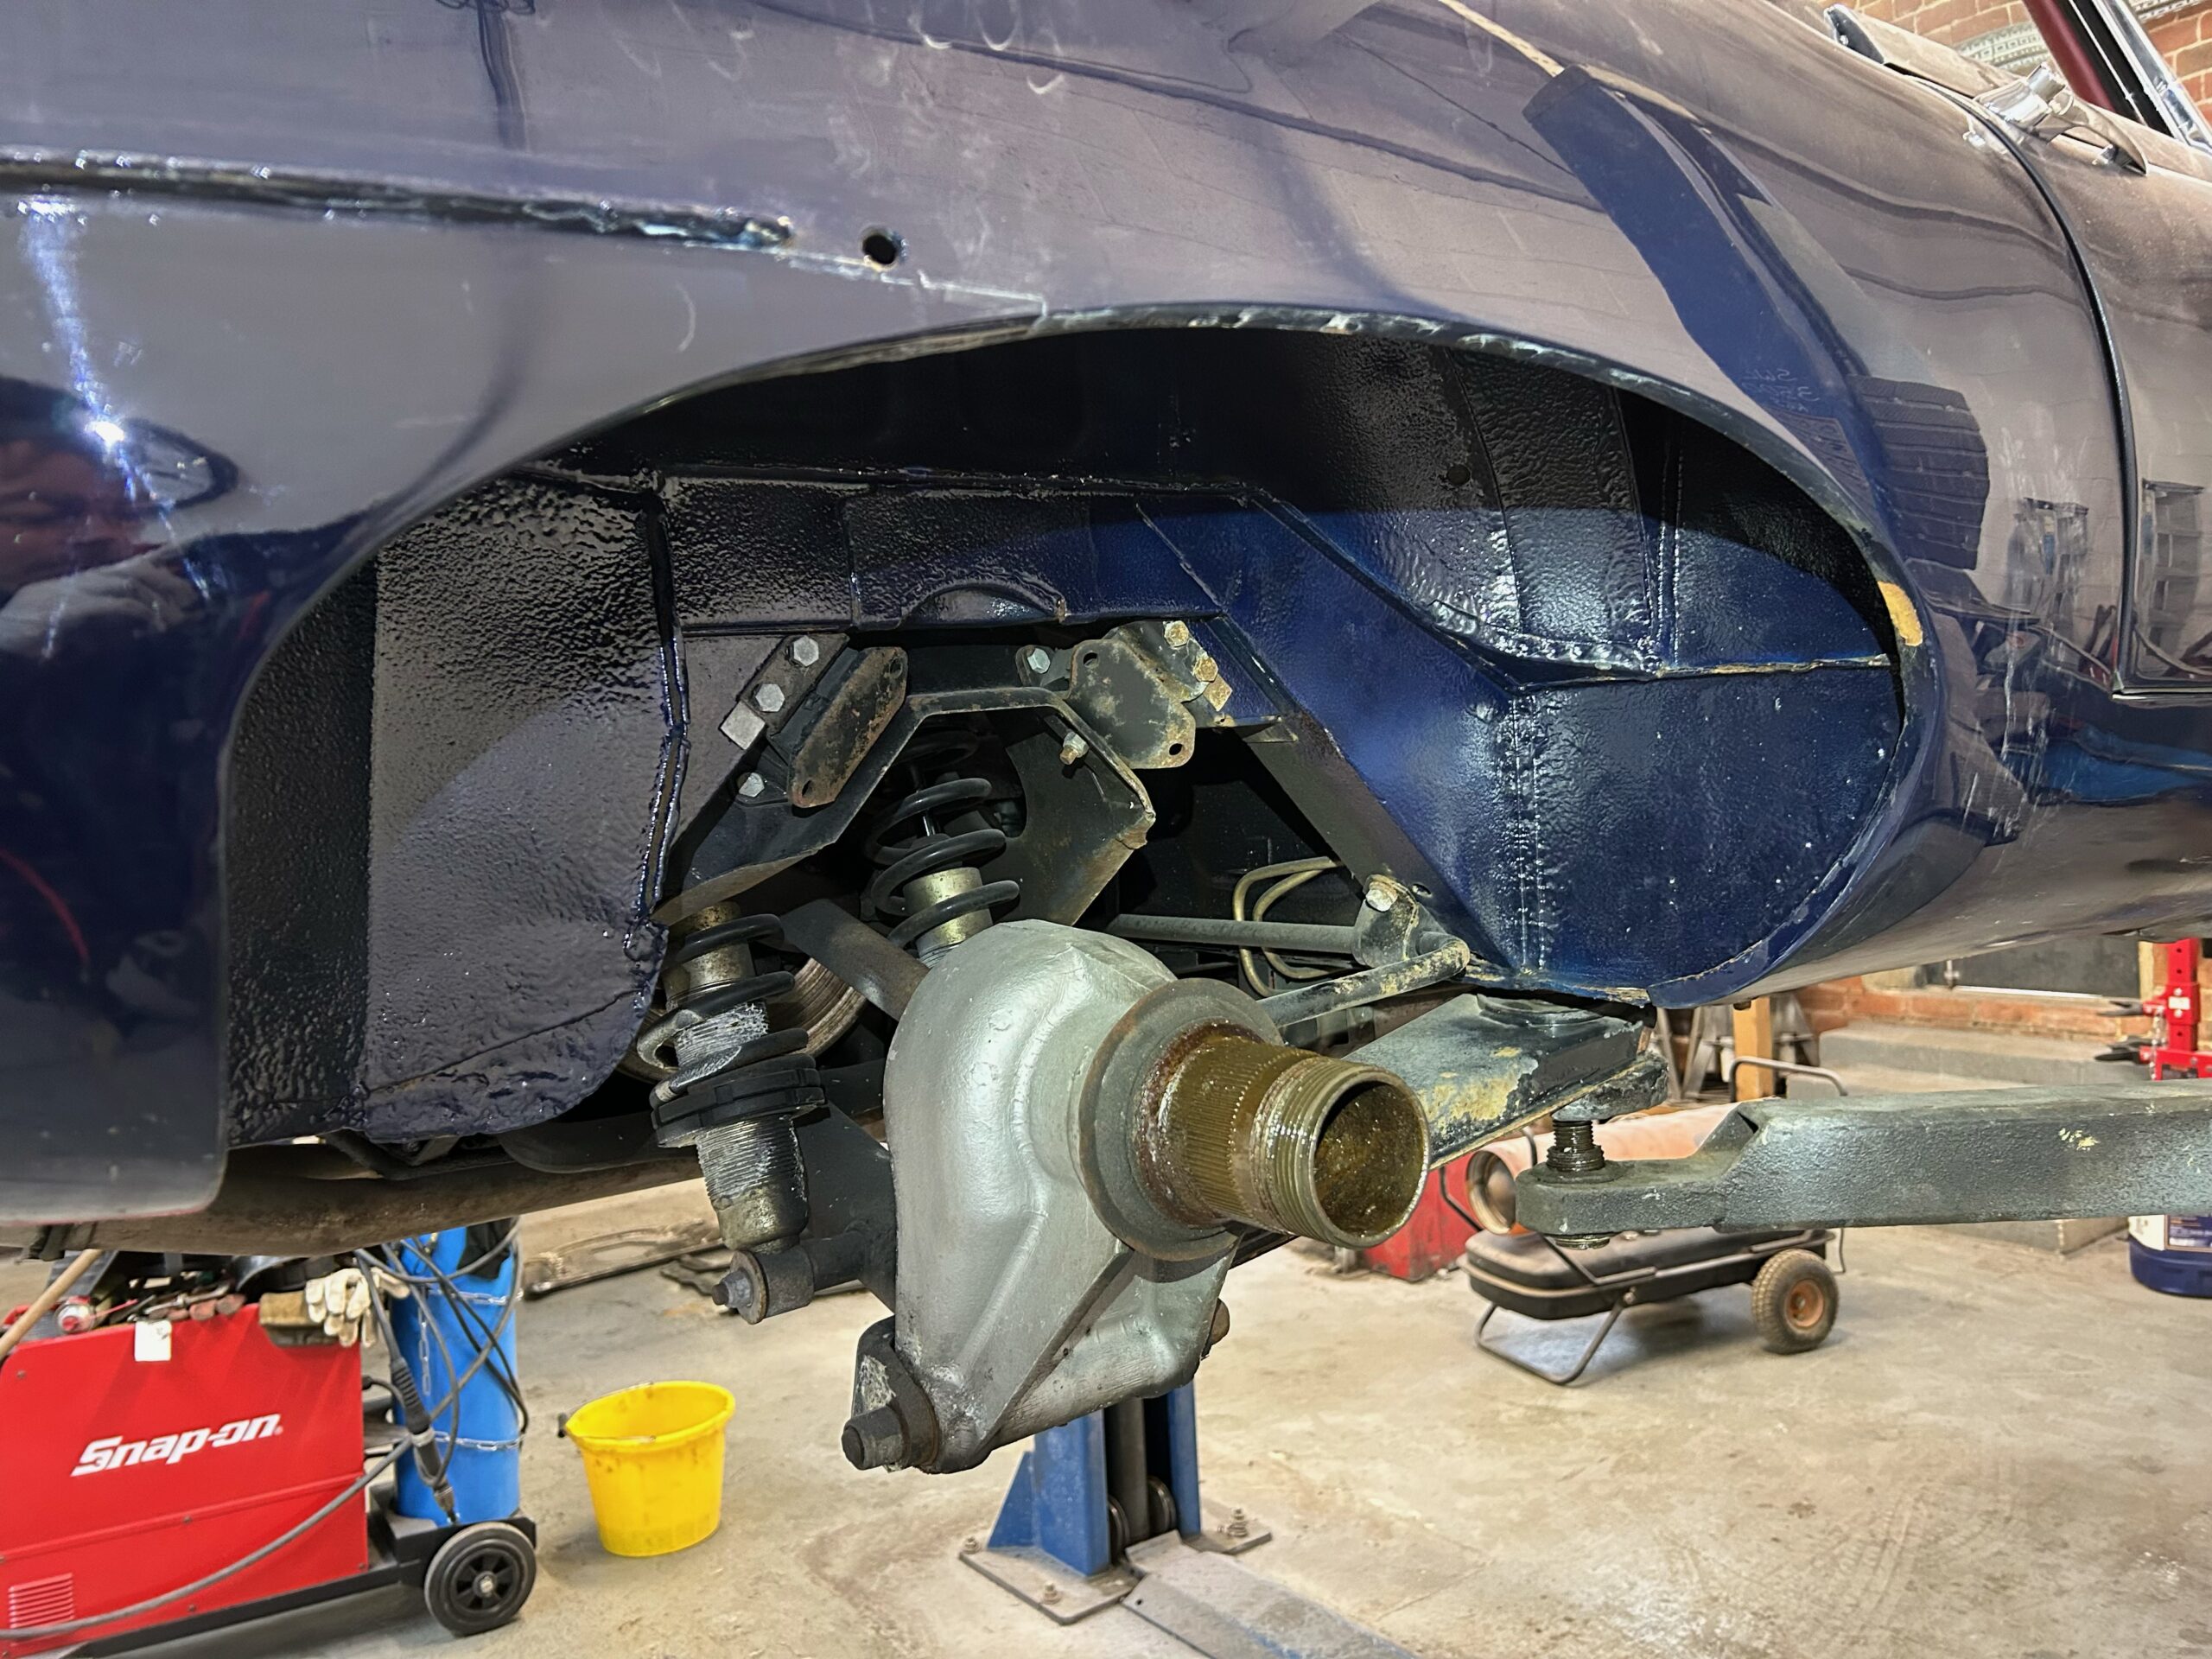
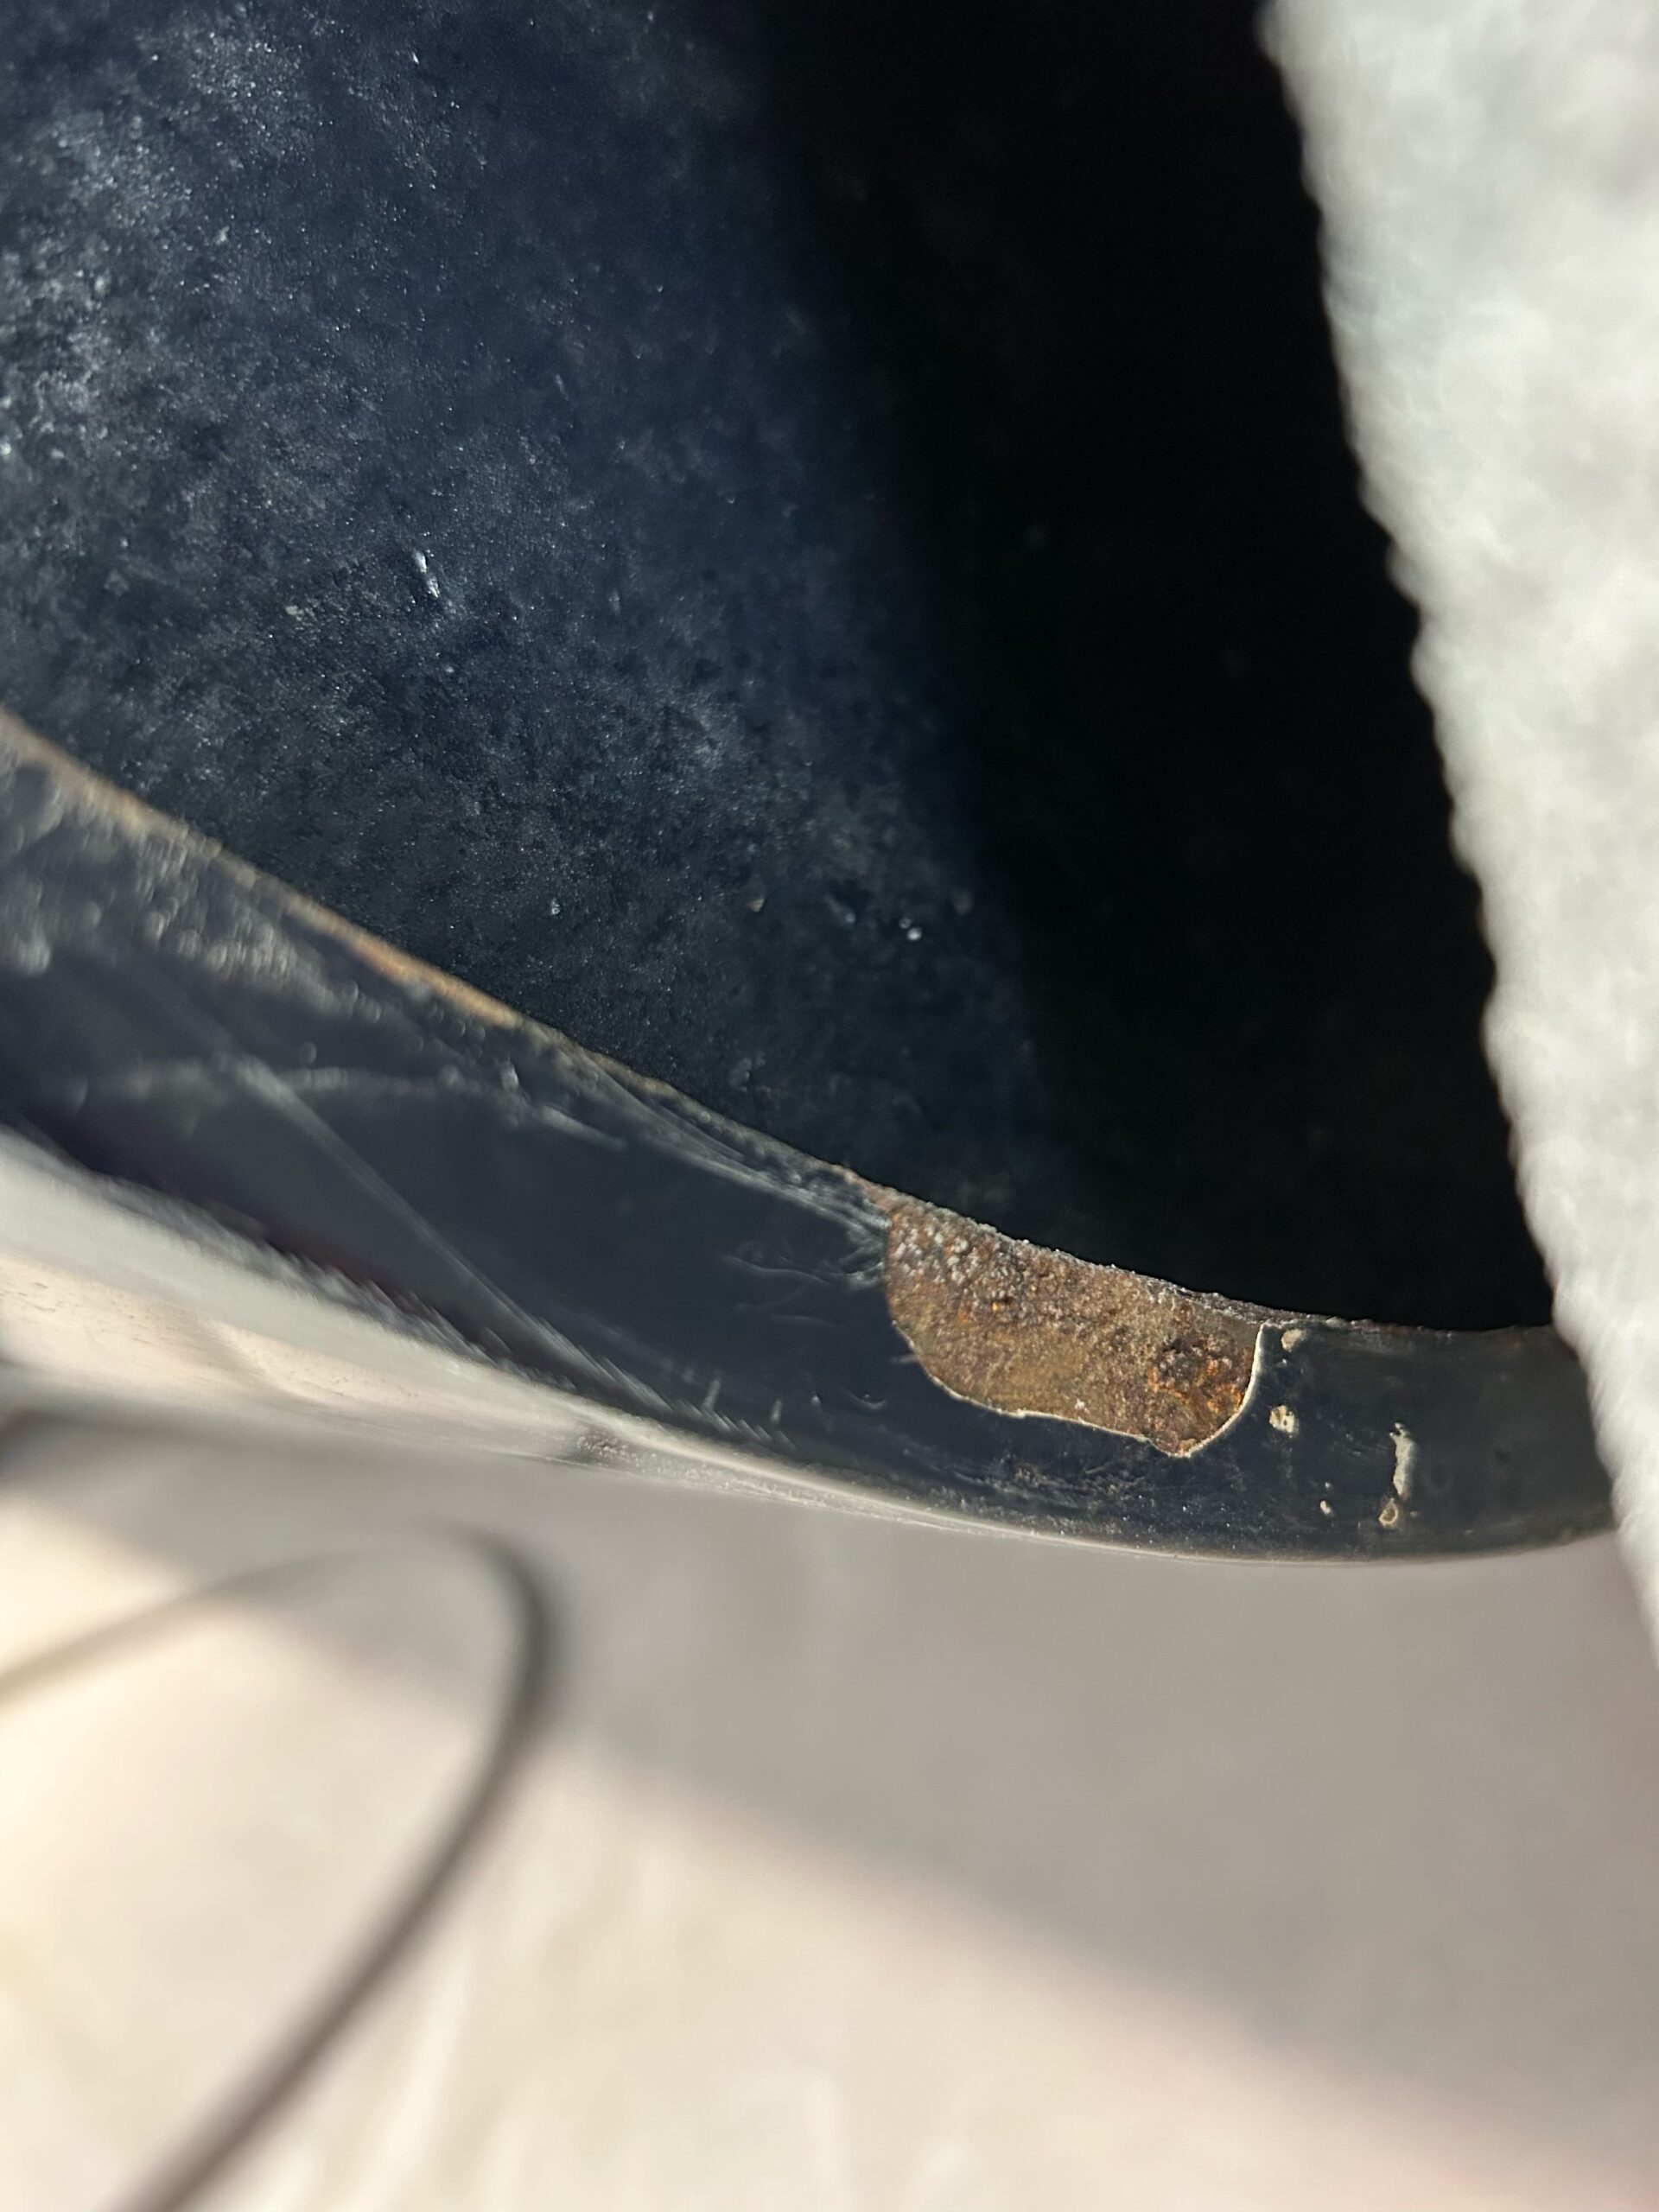
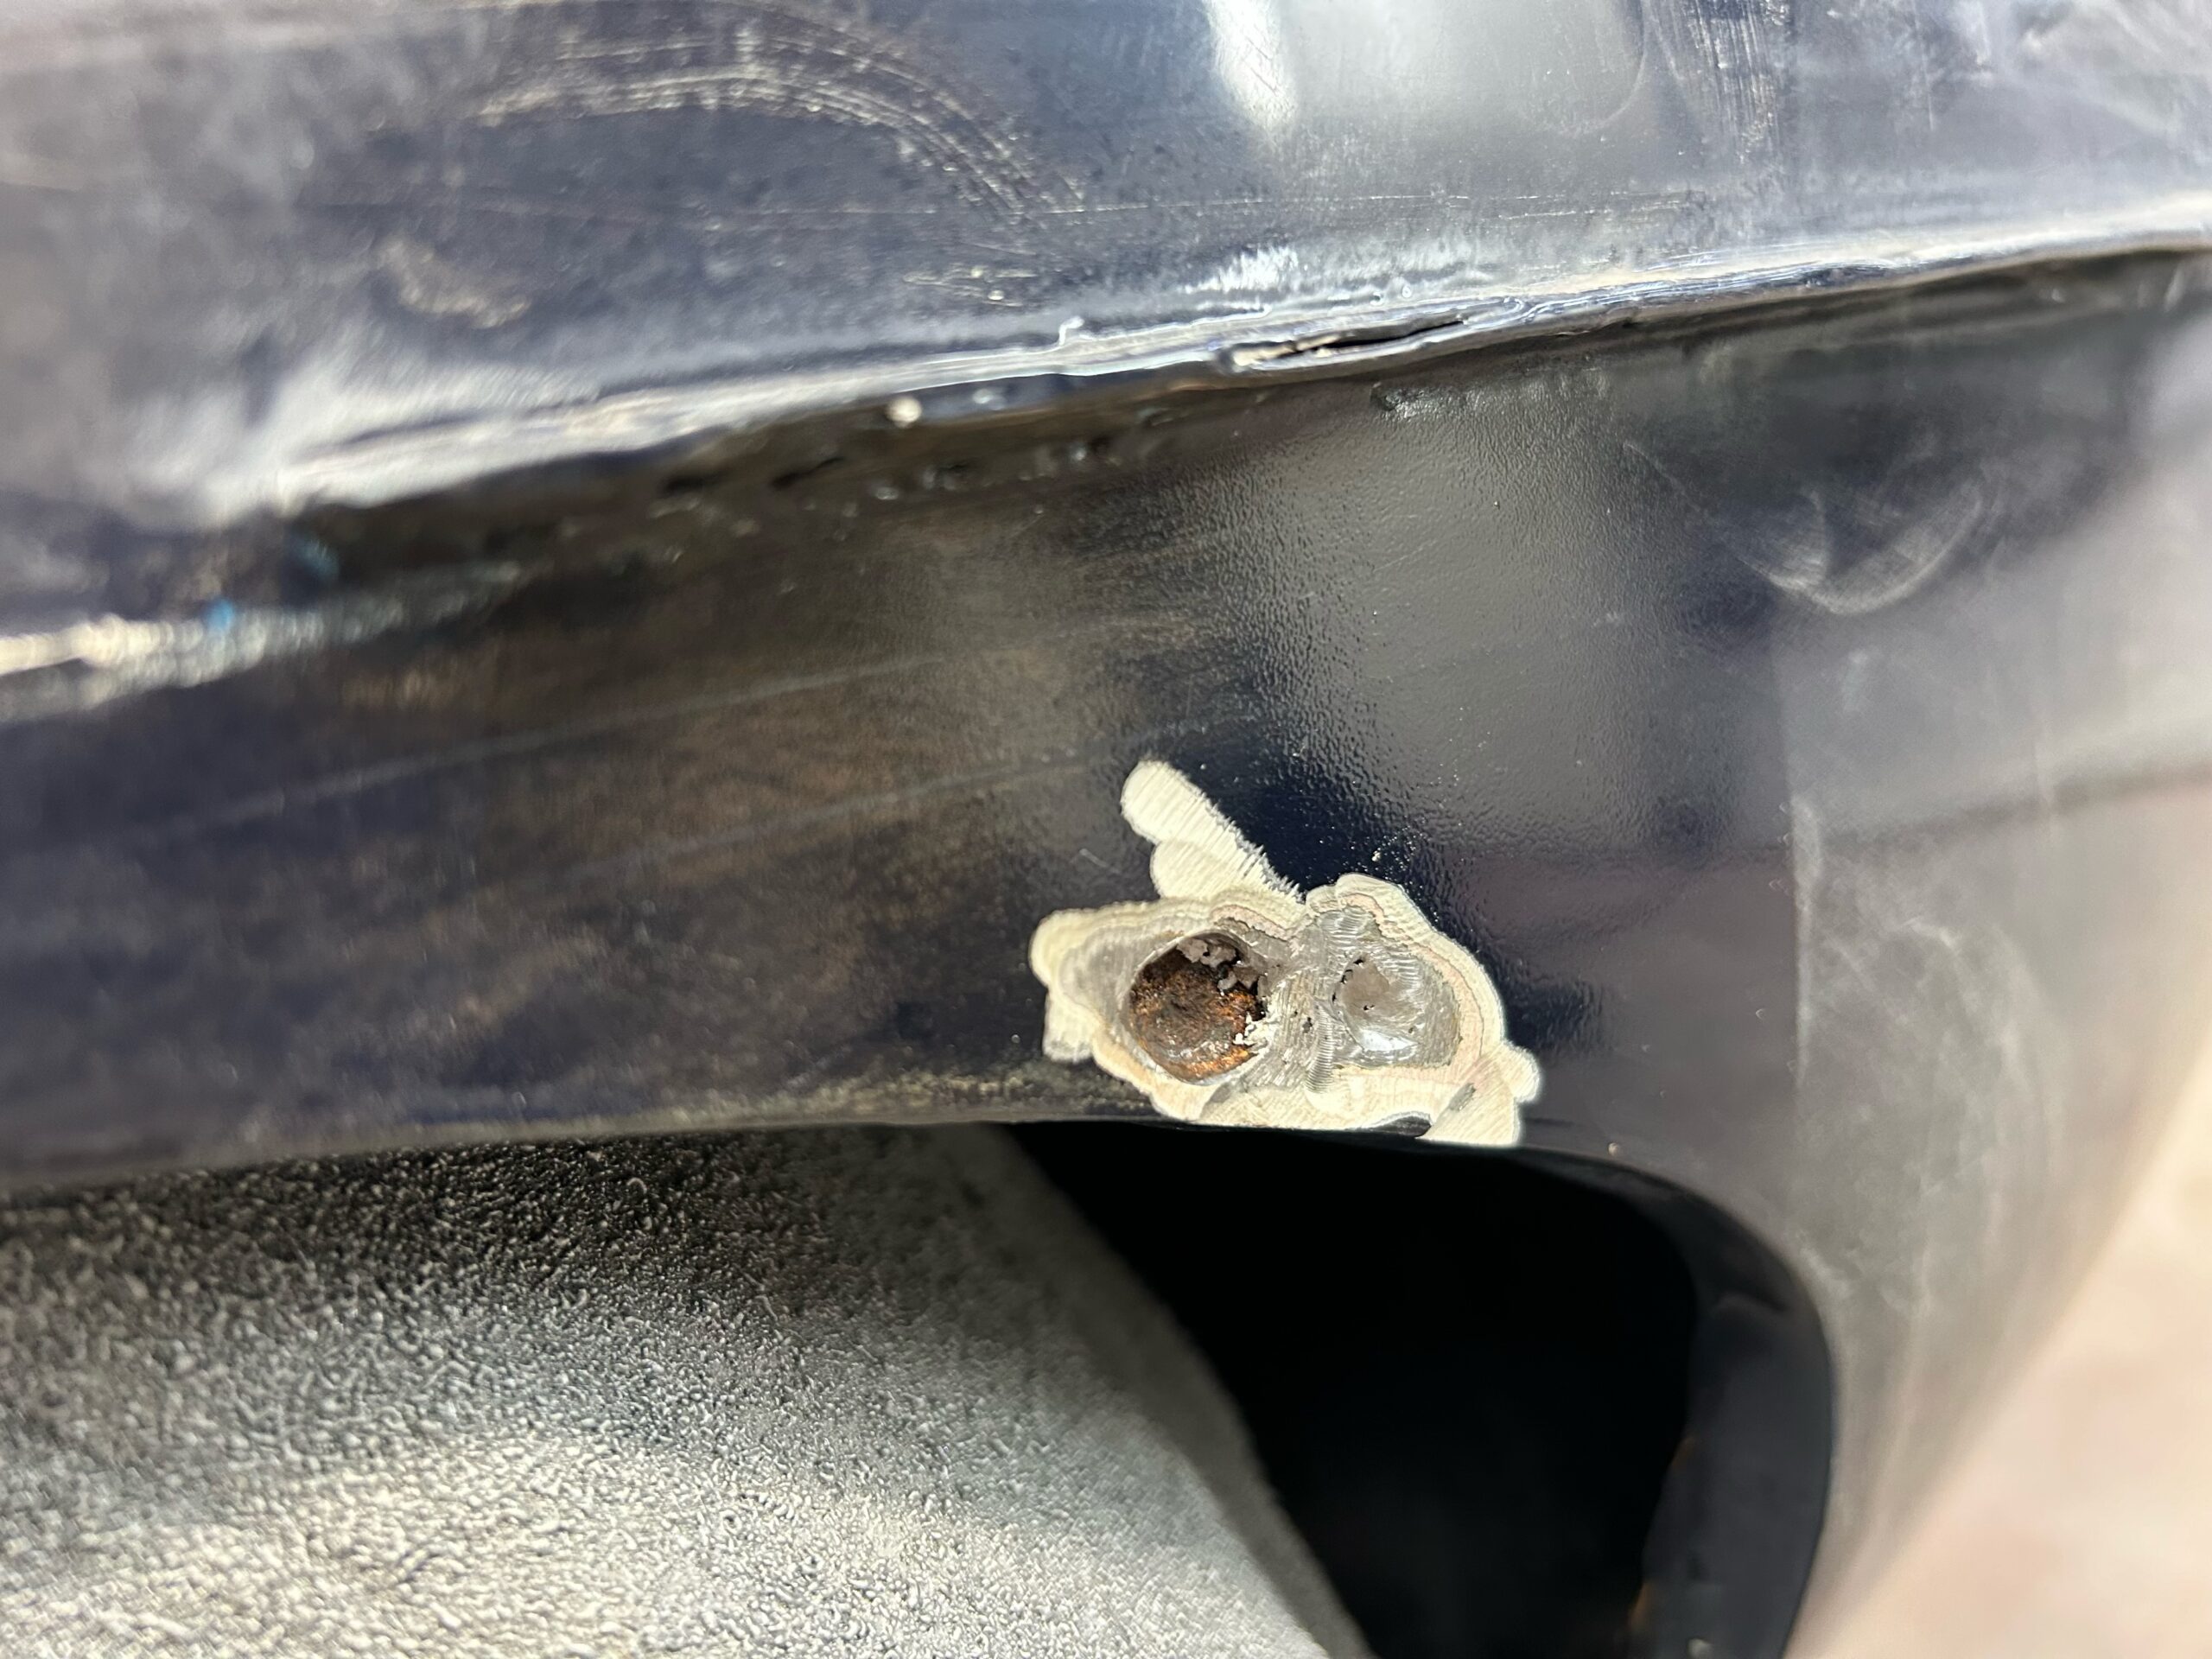
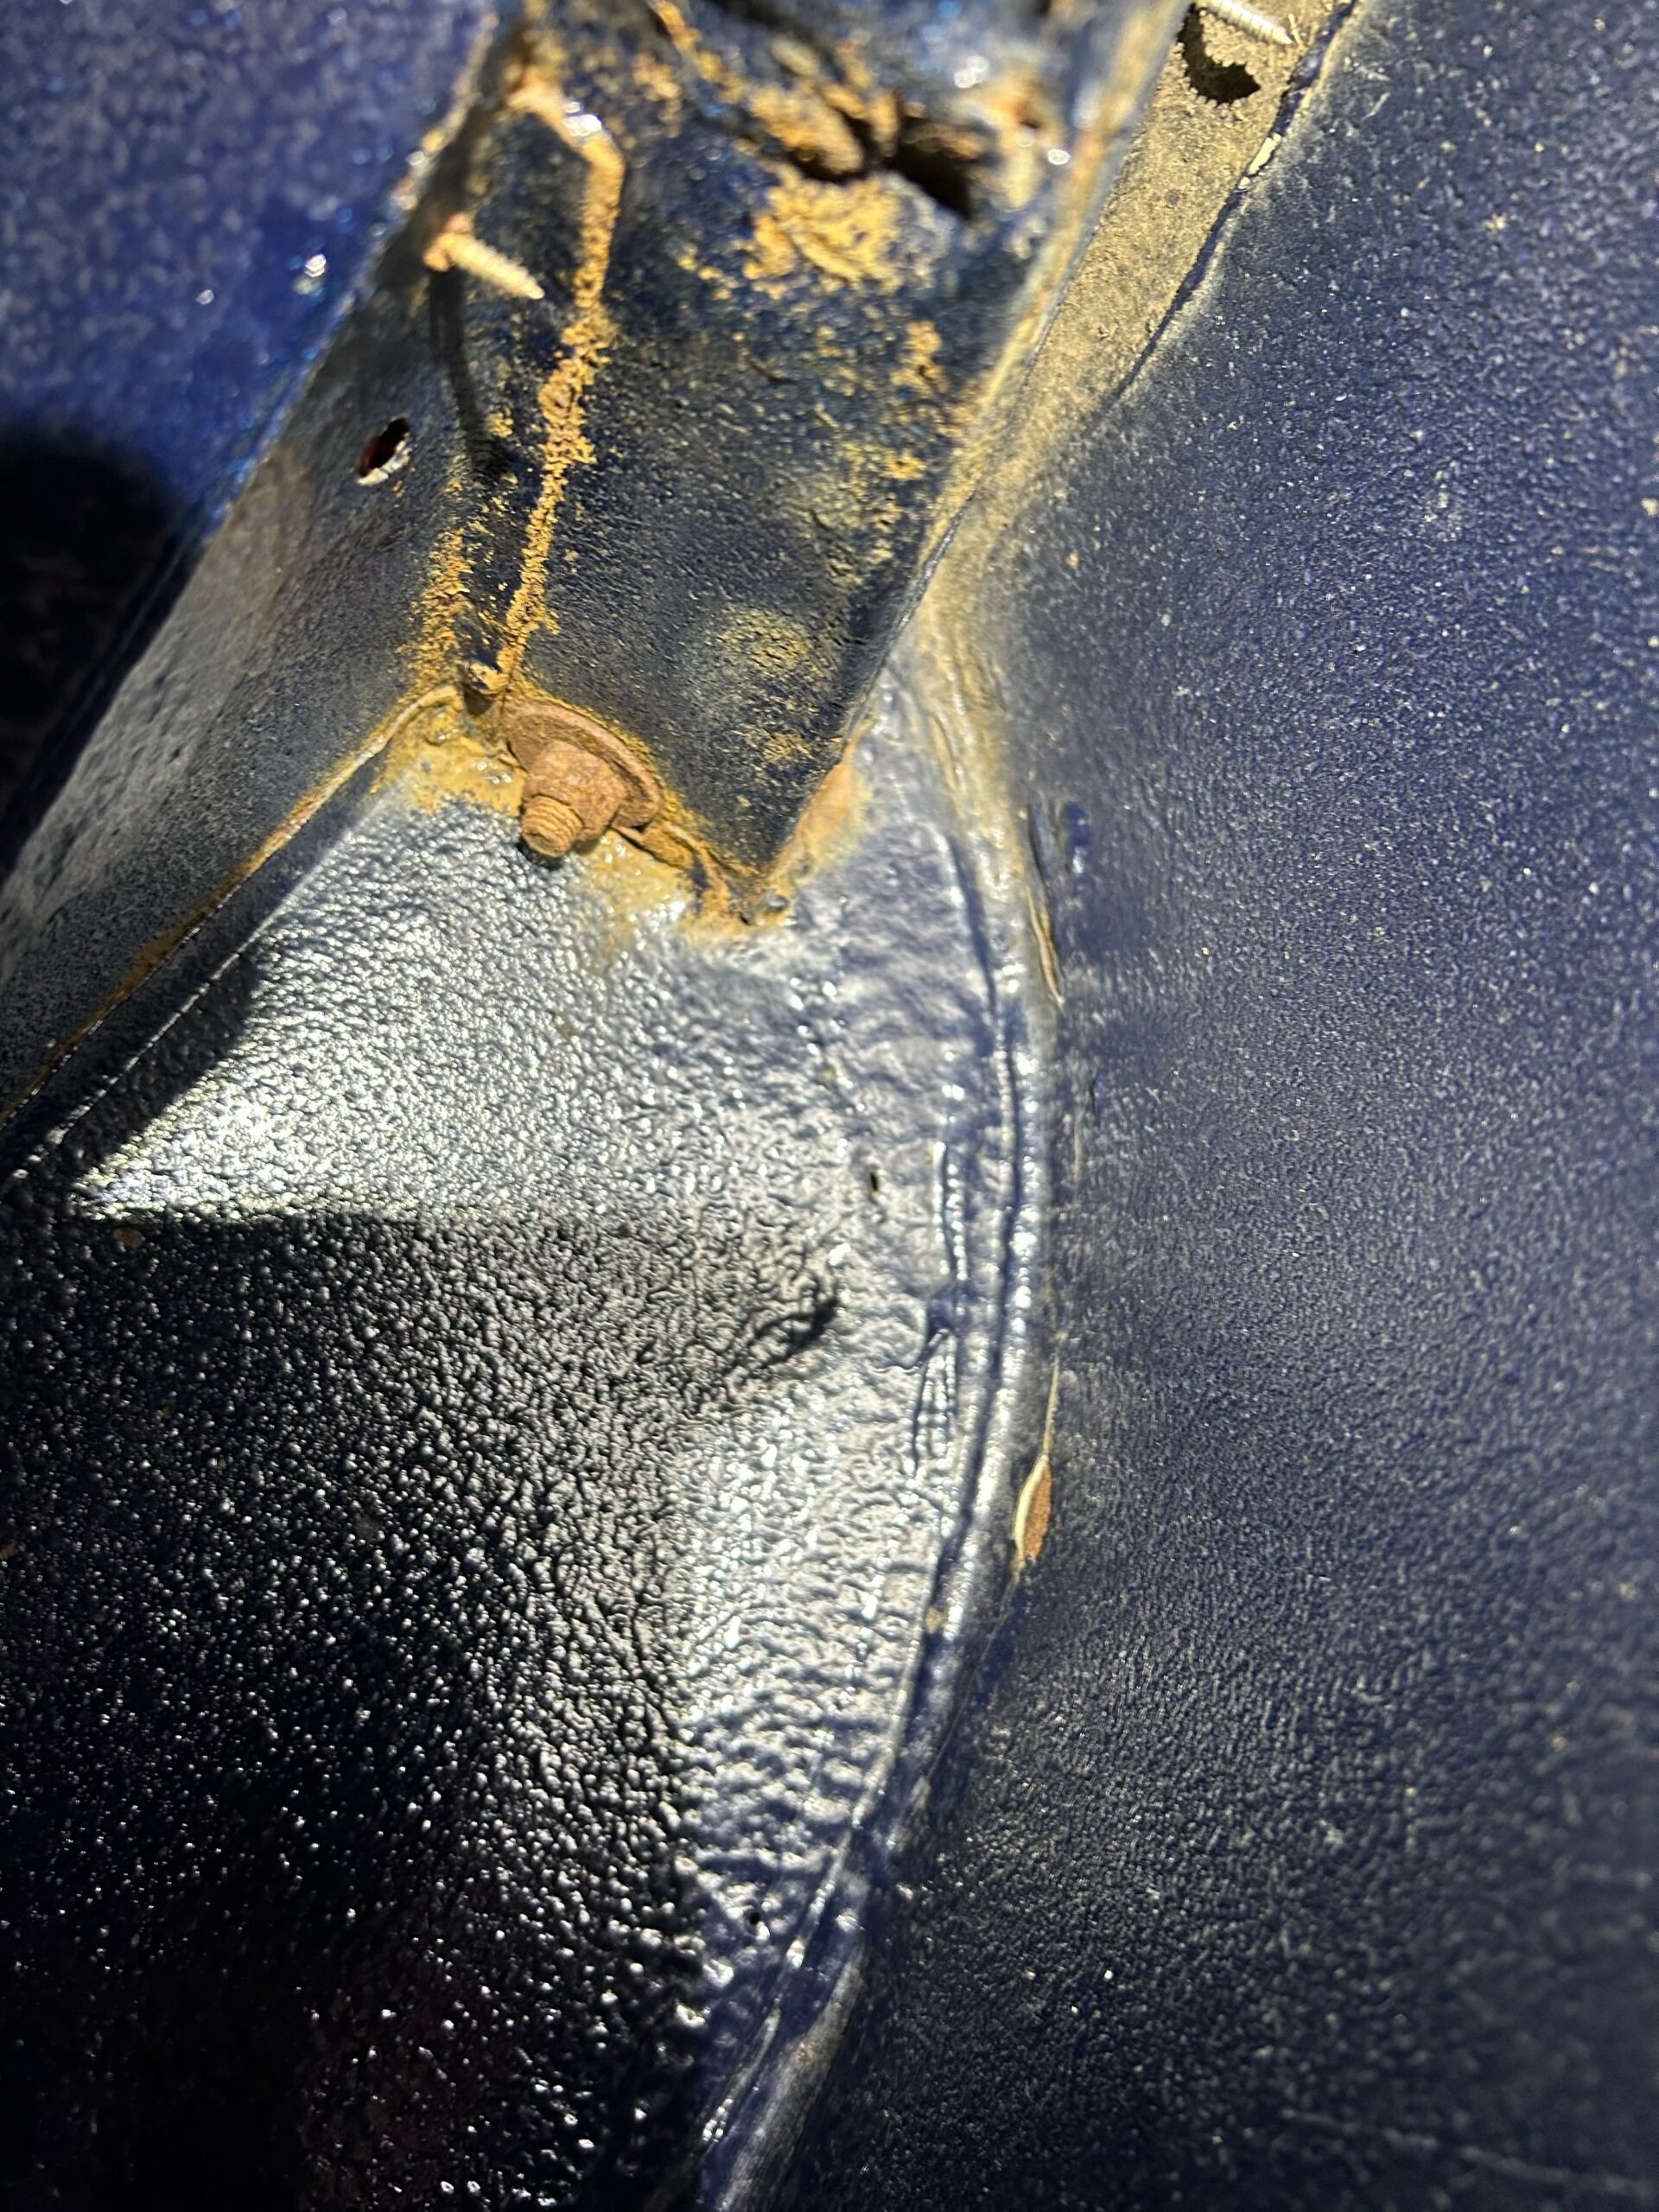
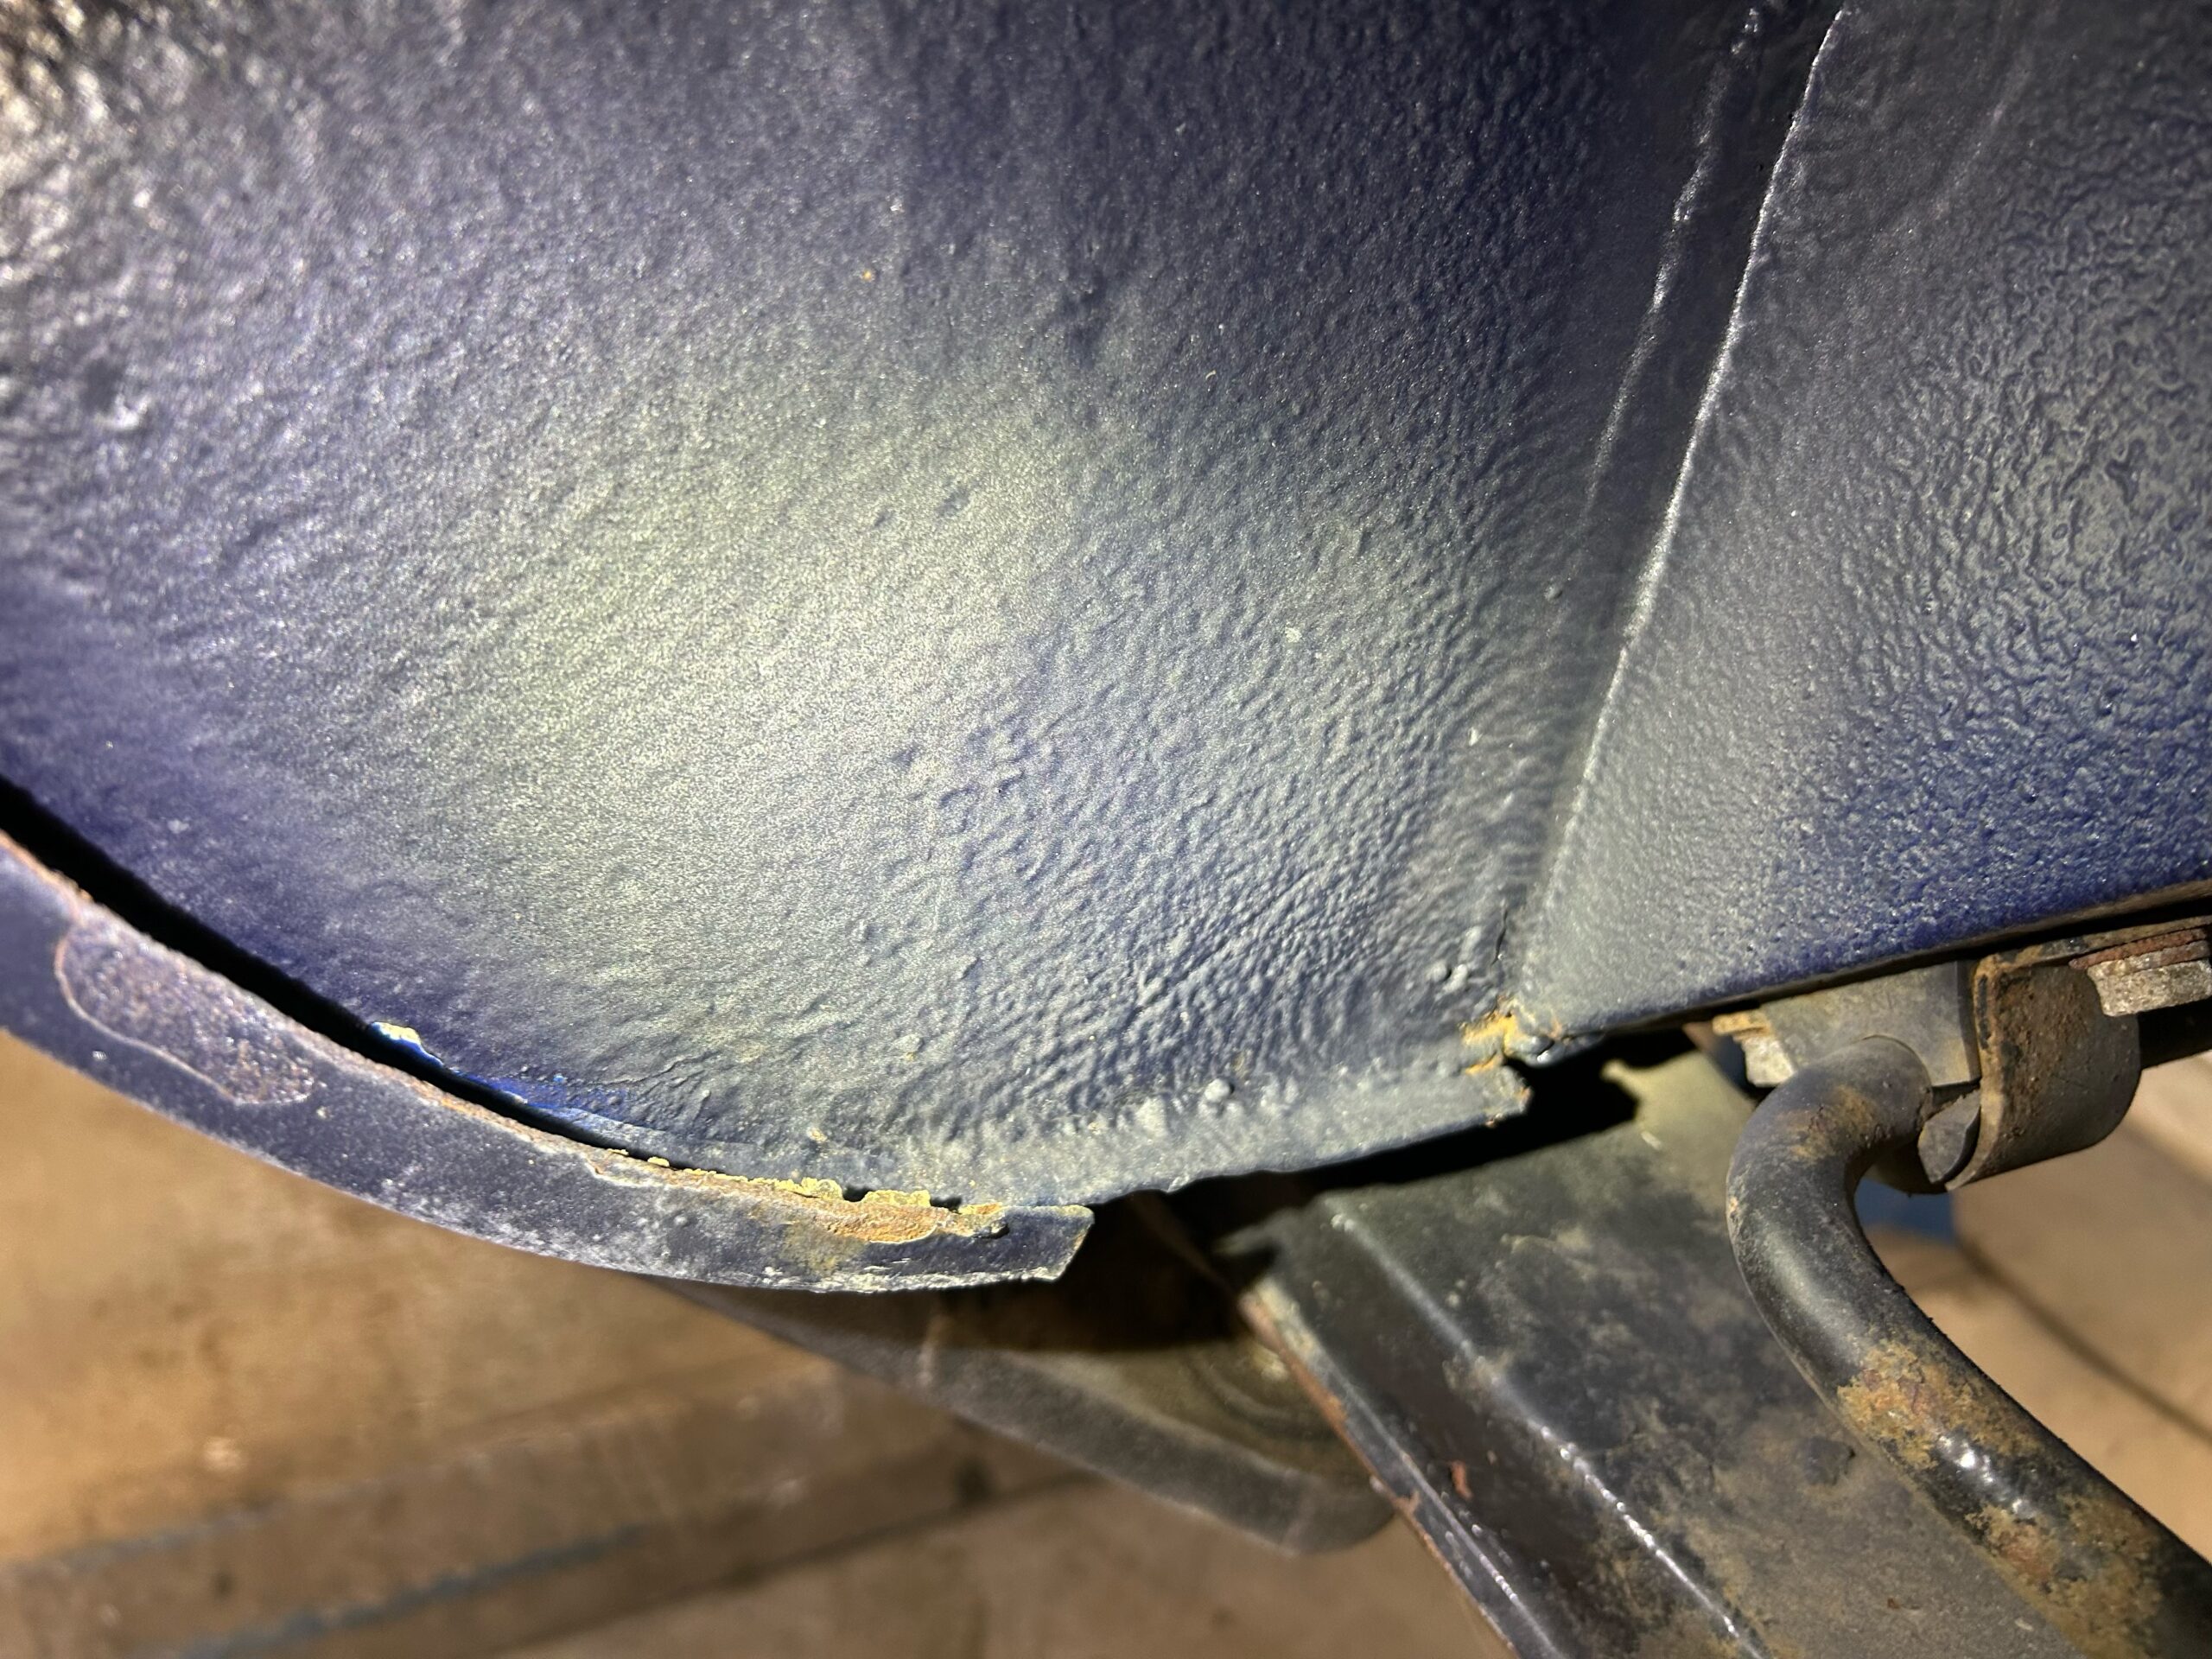
Fortunately, we were able to identify the areas of concern without needing to replace the entire rear wing. We cut out the rot that had developed over the years and stripped the area back to bare metal to begin the repair process.
This was a straightforward repair for our team and was specifically requested by the client.
How far should you go with this type of restoration? That’s a complex question, as it ultimately depends on the client’s budget, timeline, and what they want from the vehicle. We always provide advice on various options, but the final decision lies with you.
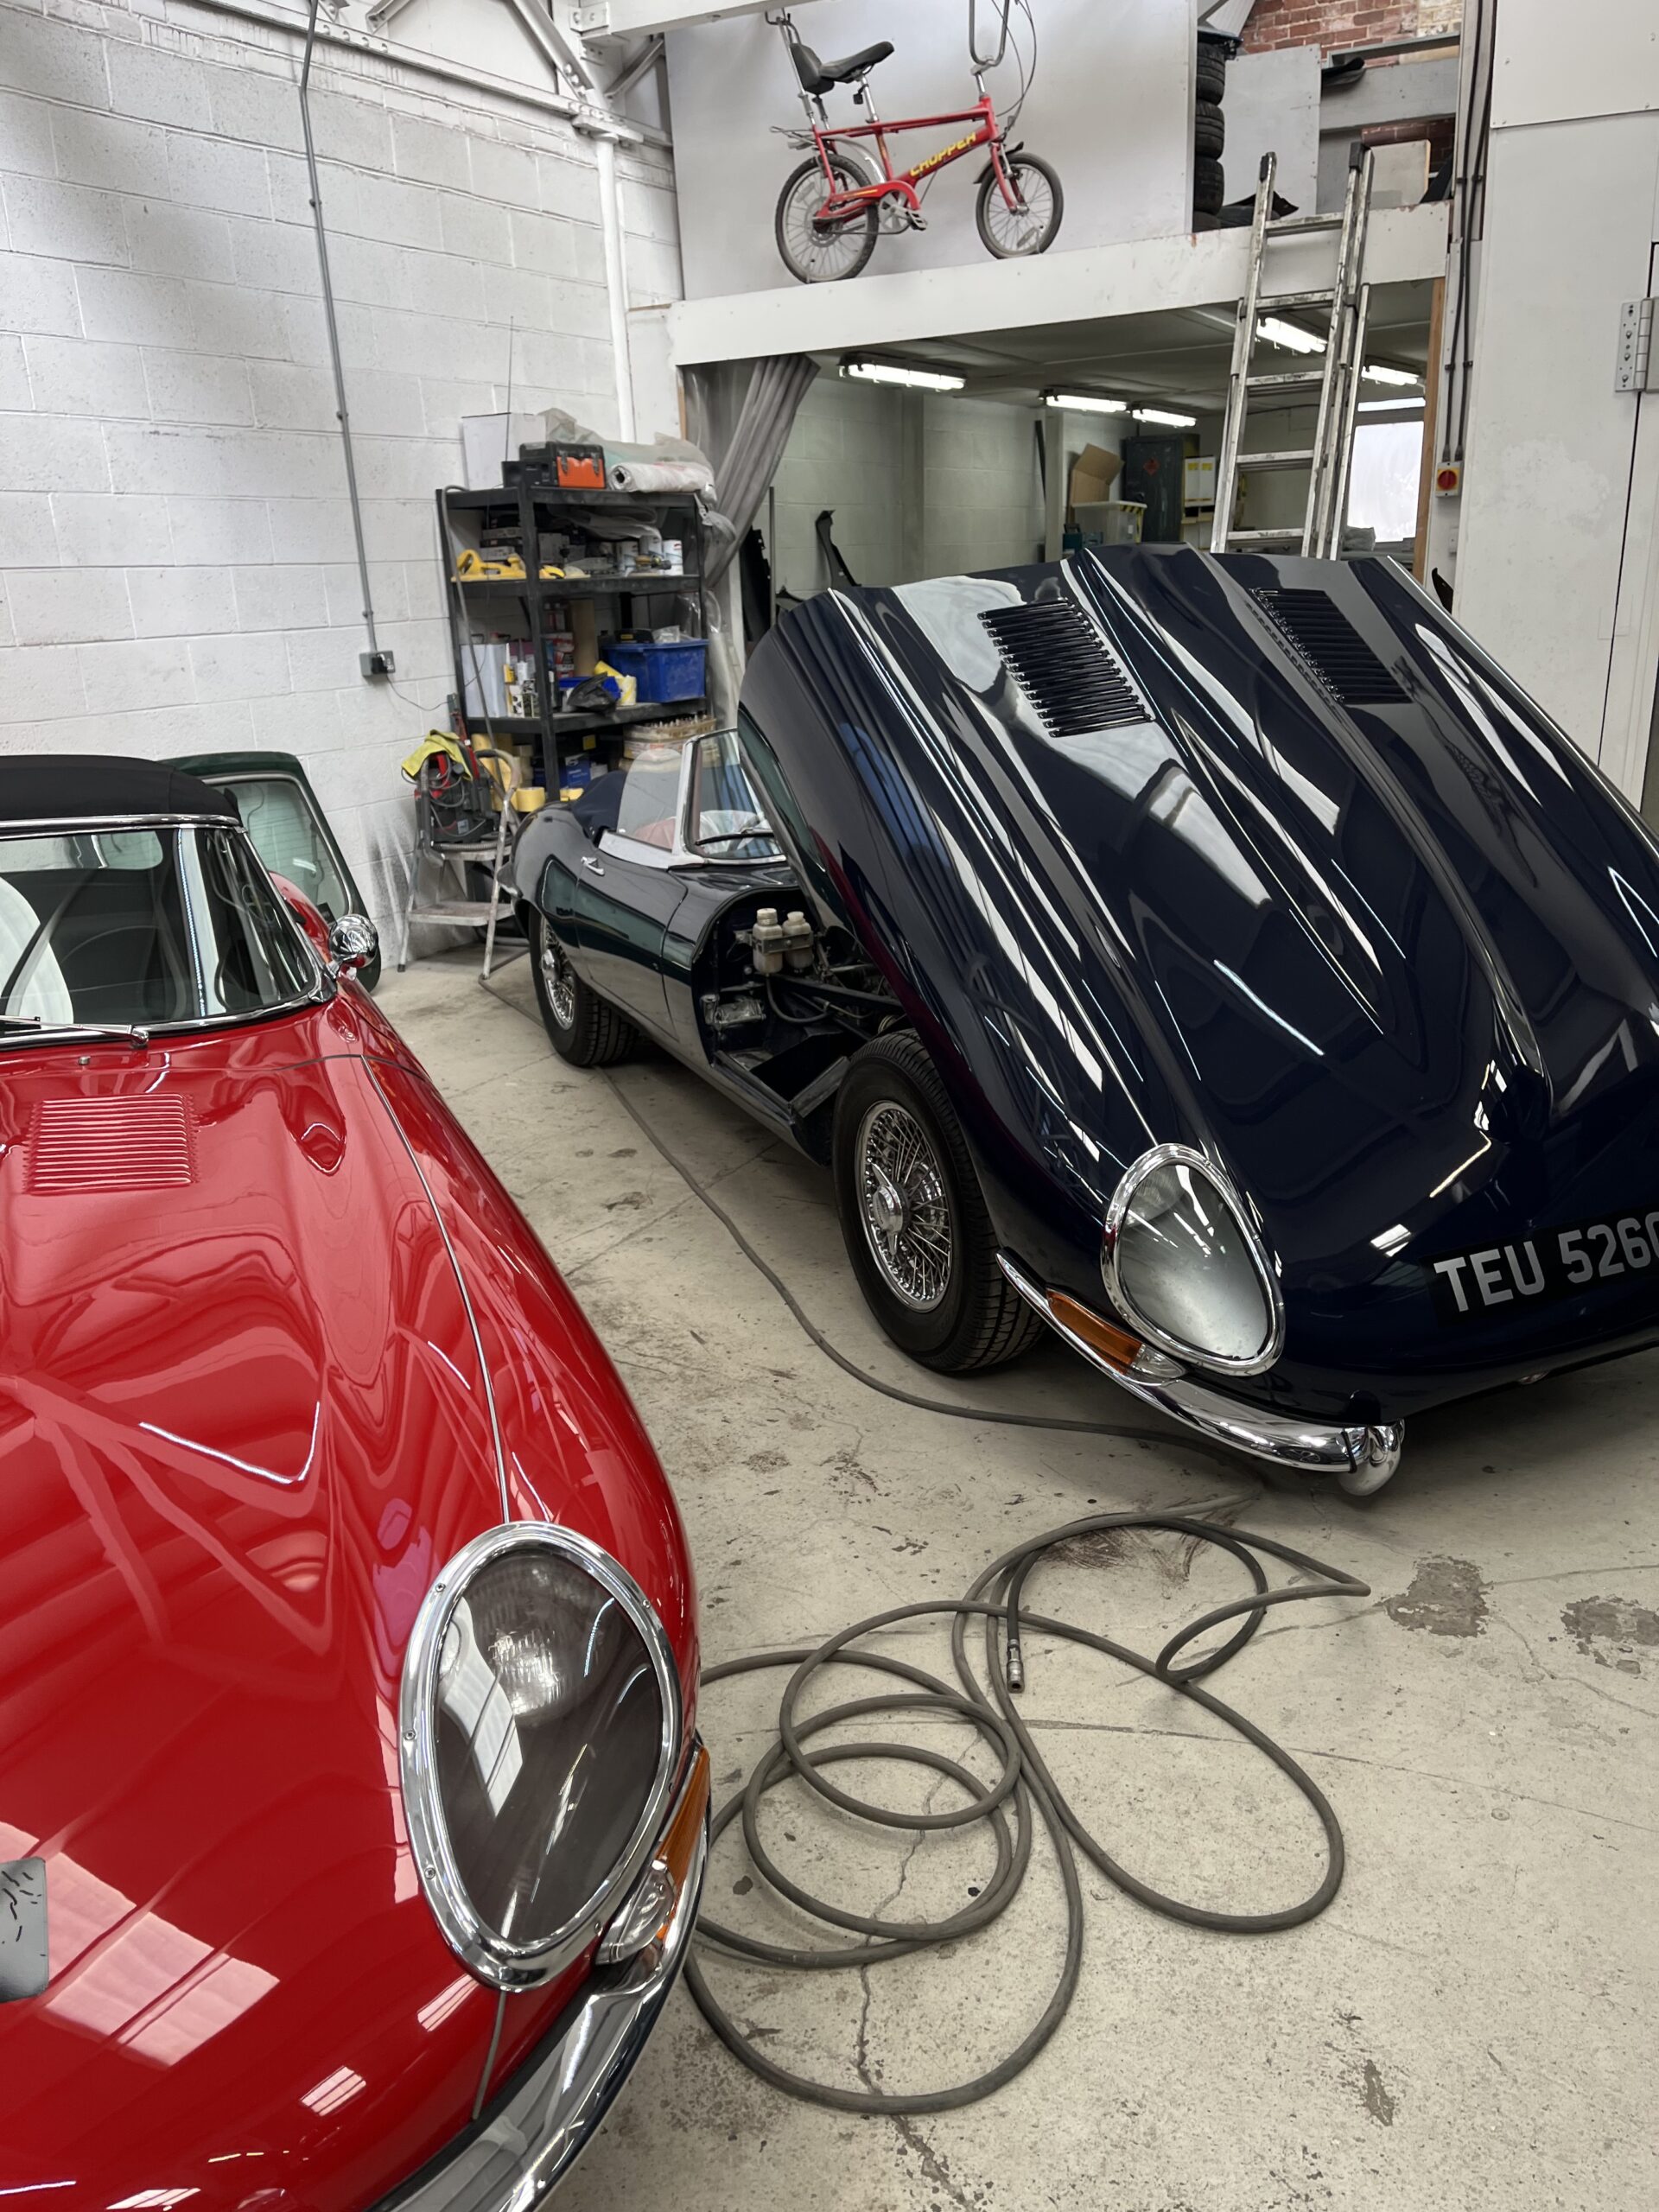
The end result is fantastic. The paint blending was expertly executed, and our paint mixologist did a remarkable job achieving a seamless color match. This level of precision is only possible when working with a skilled painter, and we are fortunate to have Conner on our team, who is recognized as one of the best car painters in the country.
Here’s a detailed overview of its key features and characteristics:
🔧 Mechanical and Engineering Updates
-
Engine Options:
-
All Series 2 E-Types were powered by the 4.2-liter inline-six XK engine, producing around 246 horsepower and 263 lb-ft of torque.
-
It retained the same basic performance capabilities as the Series 1 but with improved cooling and reliability.
-
-
Cooling System:
-
A major change was the introduction of a larger radiator and twin electric cooling fans, replacing the single mechanical fan to address overheating issues in earlier models.
-
-
Brakes and Safety:
-
Larger front brake calipers and uprated Girling brakes improved stopping power.
-
Complied with new U.S. safety regulations, which influenced many design changes.
-
🧑🎨 Design Changes
-
Exterior Styling:
-
The most noticeable updates included the open, uncovered headlights, which replaced the glass-covered lights of the Series 1.
-
Larger front indicators and tail lights repositioned below the rear bumper for better visibility.
-
Redesigned bumpers with rubber over-riders on U.S. models for crash compliance.
-
-
Wheels:
-
Wider 15-inch wheels and standard radial tires for better handling and ride comfort.
-
🚗 Interior and Ergonomics
-
Dashboard and Switchgear:
-
The rocker switches from the Series 1 were replaced with toggle switches, considered more ergonomic and compliant with U.S. safety laws.
-
New seat designs provided better support and comfort.
-
-
Air Conditioning and Power Steering:
-
These features became optional, especially targeted at the American market.
-
📊 Body Styles and Production
-
Available in three main body styles:
-
FHC (Fixed Head Coupe) – 2-seater coupe.
-
OTS (Open Two-Seater) – Roadster/convertible.
-
2+2 Coupe – Longer wheelbase with two small rear seats.
-
-
Production Numbers: Approximately 18,809 Series 2 E-Types were built, with a significant portion exported to the U.S.
🏁 Legacy
-
Though sometimes overshadowed by the purity of the original Series 1 design, the Series 2 is praised for being more usable and reliable.
-
It strikes a balance between classic style and improved driveability, making it popular among collectors who want an E-Type they can drive regularly.
-
Restoring the paint on a Jaguar E-Type Series 2 convertible is a delicate process that requires respect for the car’s originality, bodywork, and historical value. Here’s a comprehensive guide to what you should be mindful of:
🎨 1. Preserve Historical Accuracy
-
This perhaps is the critical part in a paint restoration .Colour Matching
-
Use original Jaguar colour codes from the Series 2 era (1968–1971). Common factory colors included British Racing Green, Primrose Yellow, Signal Red, and Opalescent Silver Blue.
-
Avoid modern hues unless the car is being customized—authenticity affects resale and collector value.
Paint Type
-
The original finish was nitrocellulose lacquer, later superseded by acrylic enamel or urethane-based systems.
-
Modern two-stage paint (basecoat/clearcoat) can be used for durability, but aim for a finish that replicates the original gloss and depth.
🛠️ 2. Body Preparation and Metalwork
Panel Alignment
-
E-Types have complex curves and tight panel gaps. Ensure all panels, especially bonnet (front clam shell), doors, and boot lid, are properly aligned before painting.
-
Test fit chrome bumpers, lights, and trim before final paint to avoid chipping during assembly.
Rust Repair
-
Inspect common rust-prone areas:
-
Lower sills
-
Wheel arches
-
Floors
-
Battery tray
-
Boot floor
-
-
Replace with proper gauge steel; avoid excessive filler use.
Lead Loading
-
The factory used lead for seam smoothing, especially on panel joins. If repairing these areas, consider traditional lead-loading or modern alternatives that mimic its properties.
🧽 3. Surface Preparation
Stripping the Old Paint
-
Carefully strip old layers using media blasting, chemical stripping, or manual sanding.
-
Avoid sandblasting aluminum panels (like the bonnet), which can warp under heat or pressure. Use plastic media blasting or soda blasting instead.
Primer and Sealing
-
Apply high-quality epoxy primer for rust prevention and adhesion.
-
Use a high-build primer to block imperfections and achieve a smooth surface for final paint.
🧩 4. Convertible-Specific Considerations
Hood Frame and Fittings
-
The convertible hood frame often needs refinishing separately. Strip, repaint (usually in black), and verify smooth operation before painting the body.
-
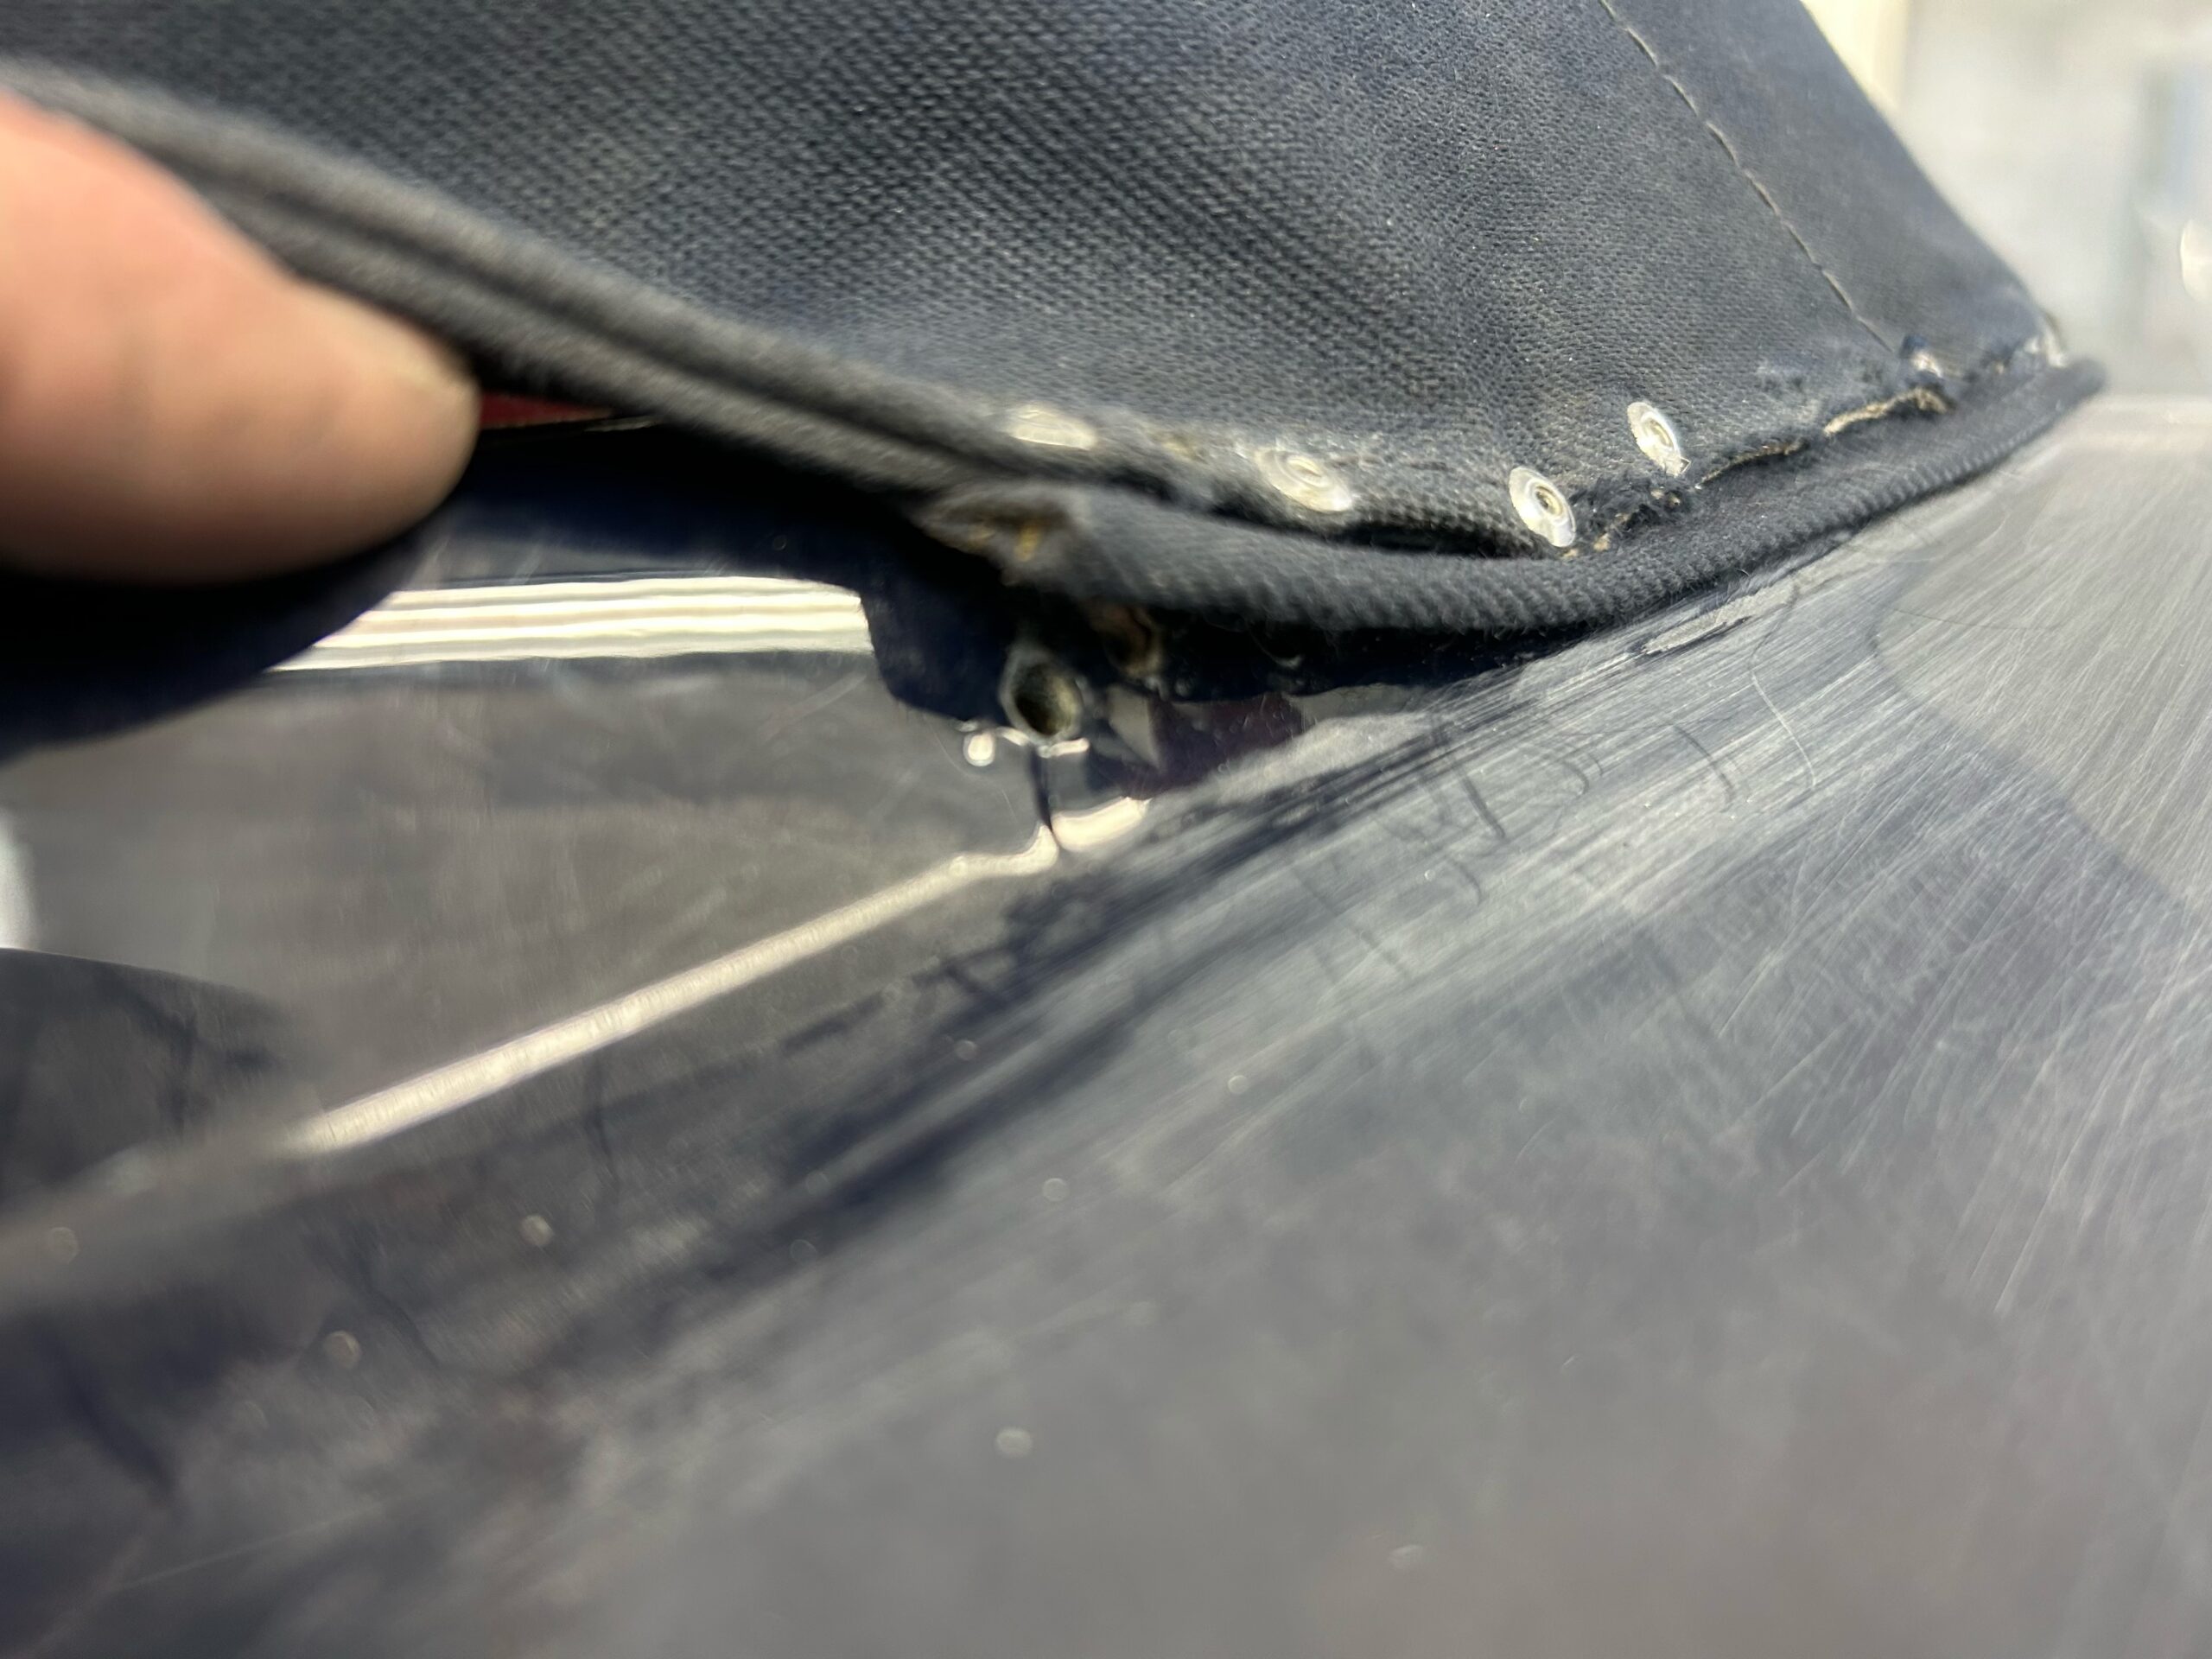
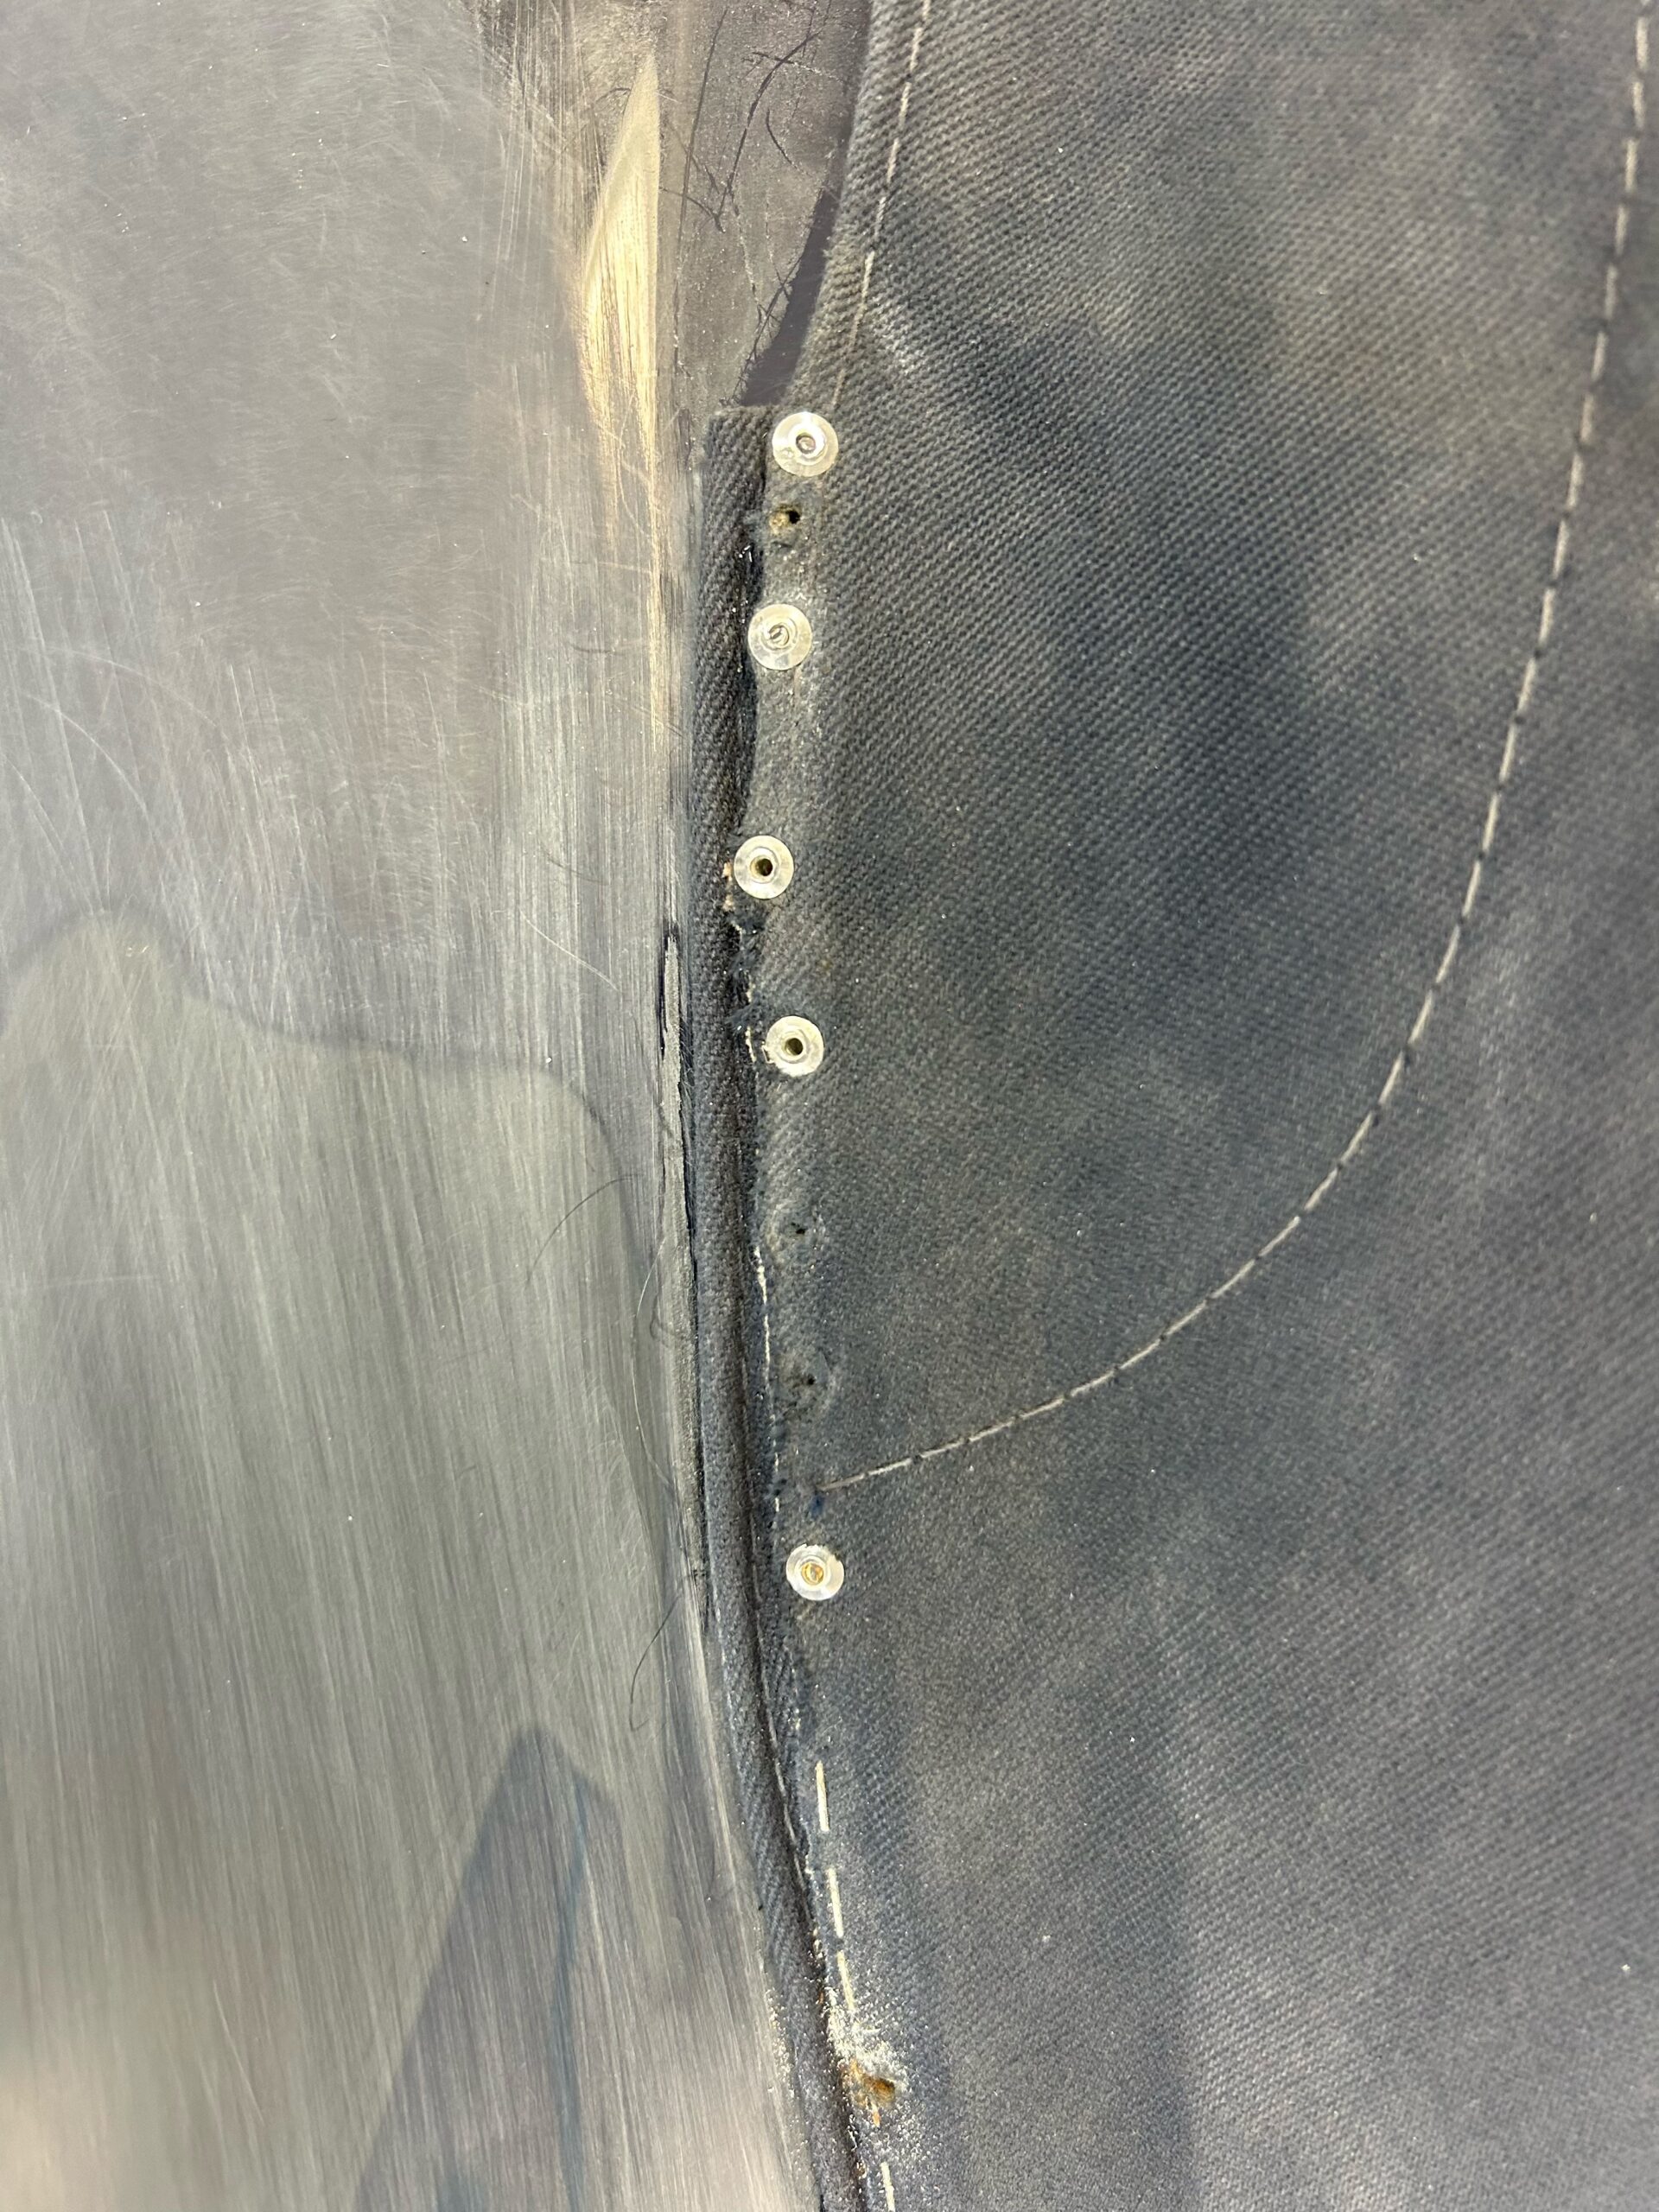
Protect the interior, dash, and soft-top components during sanding and spraying.
Windshield and Chrome Trim
-
Remove or meticulously mask the windshield frame, brightwork, and badges—overspray on chrome is difficult to remove and looks unprofessional.
🧰 5. After Paint: Curing and Reassembly
Paint Curing
-
Allow sufficient curing time per paint system spec—don’t rush reassembly.
Reinstallation
-
Use new or restored rubber gaskets and seals to prevent damaging fresh paint during reinstallation.
-
Adjust bonnet fitment and latch alignment carefully; the front clam shell is heavy and can scratch new paint if misaligned.
✅ Summary Checklist
Task Notes Match original color Use Jaguar color codes Panel fitment Align before paint Treat rust properly Avoid excessive filler Avoid blasting soft metals Use soda or plastic media Protect trim and interior Especially with the soft top Cure and polish properly Let paint harden before assembly -